Lesson 11: Mid 16th C. Mules (Cork)
Update: October 19, 2017 - Since the making of these, as always, we improve dramatically. Though many of the techniques in this Lesson are still relevant, I strongly encourage you to see the updated work here, as the techniques and quality of work used therein are far superior.
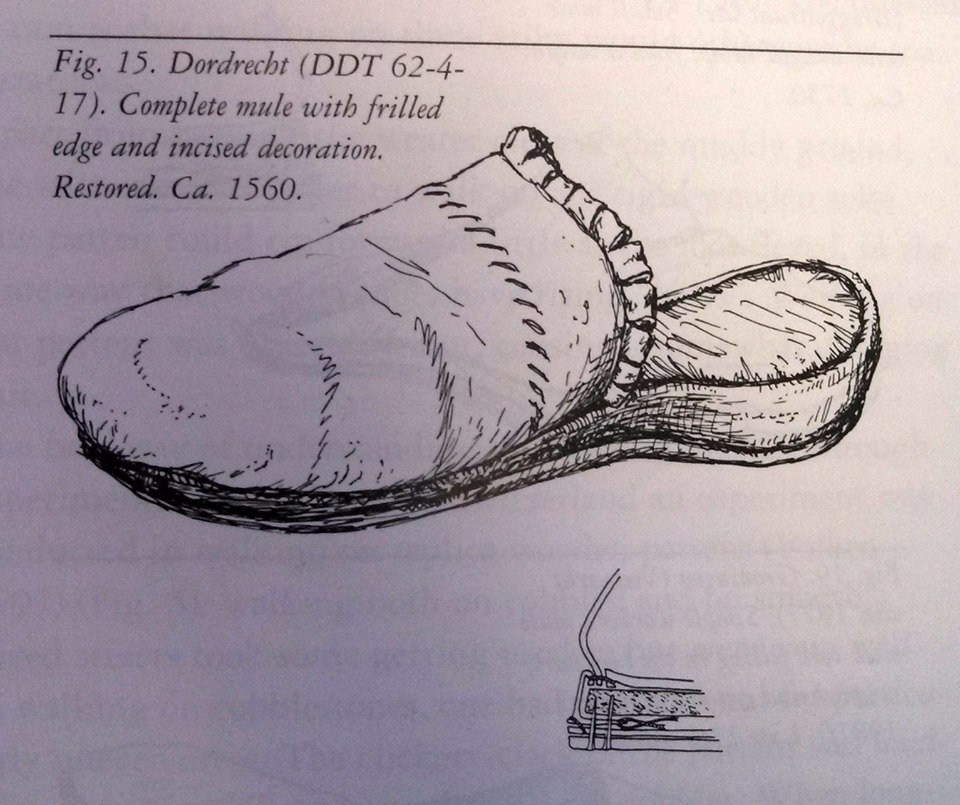
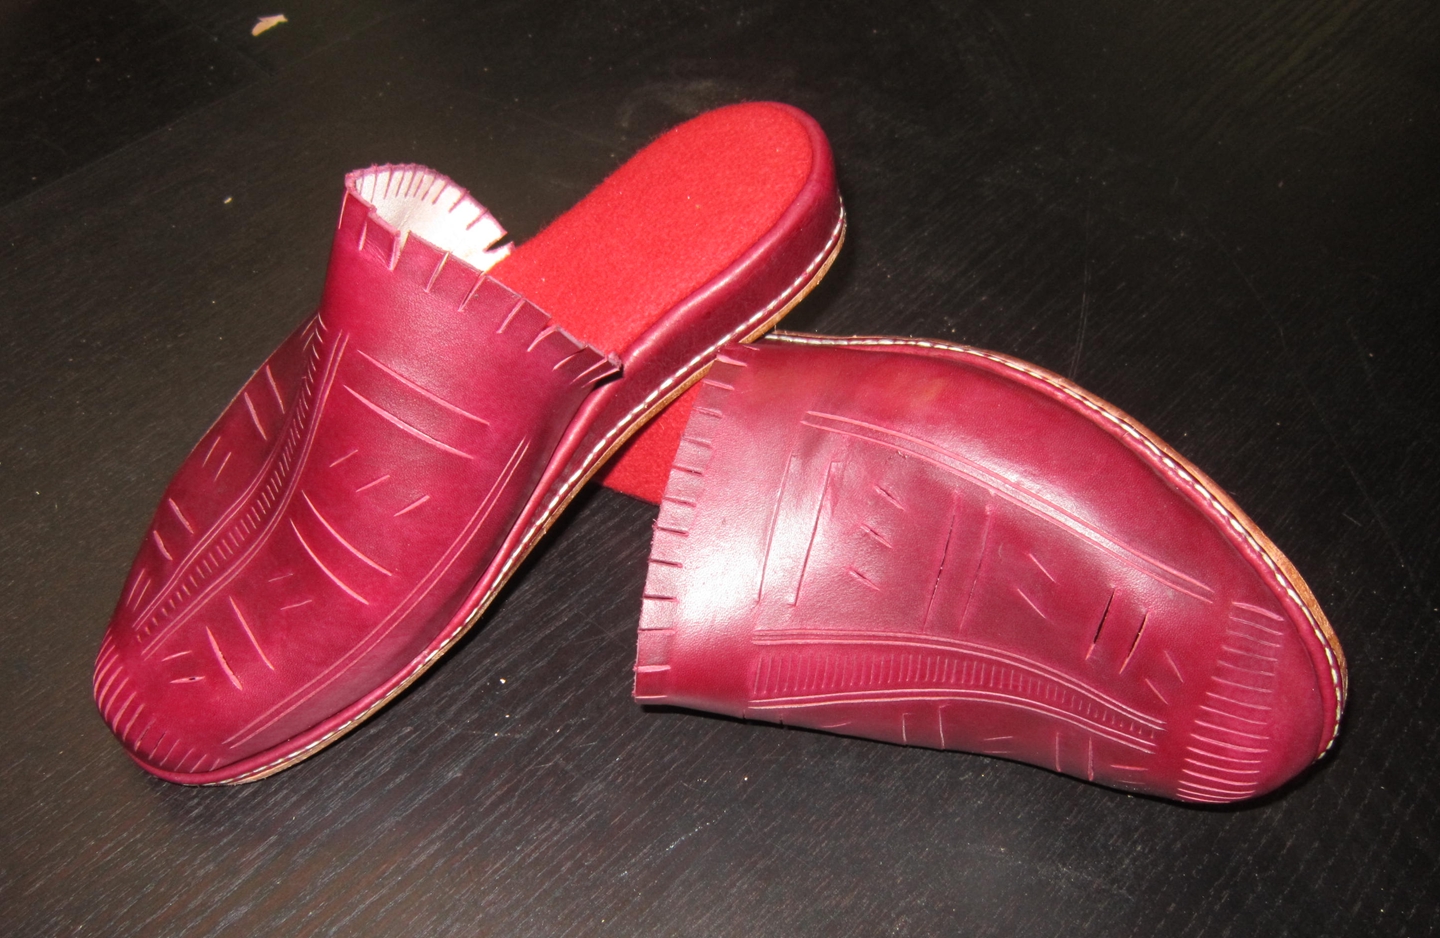
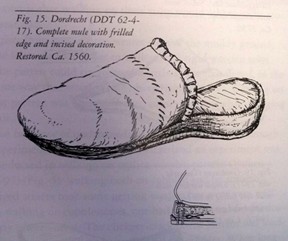
August 30, 2013 - I was commissioned to make a pair of 1560s mules, as detailed in a picture from Goubitz (attached below). This was somewhat of a rush order, and I took a couple of liberties, but the end result was consistent with historical practice. Note that I call these "mules," whereas in Lesson 2, I use the wording "pantofle." The distinction here arises from the fact that these shoes do not have a decorative element of carving in the base of the piece - they are a relatively plain style of footwear. It is a minor distinction, I suppose, but I think that I can argue effectively that a raised, decorated mule could be called a pantofle.
Pantofles and mules are far more popular than I think most people realize. There are many extant pieces as seen in Goubitz's work, and I show a few pictures of them on my Paintings and Sketches page. Mostly intended for indoor wear, there are certainly examples that would be worn outside, perhaps to slip ones lightweight riding boots or buskins into. Moda a Firenze gives some examples of larger mules that appear to be intended for slipping boots or other footwear into. |
 | |
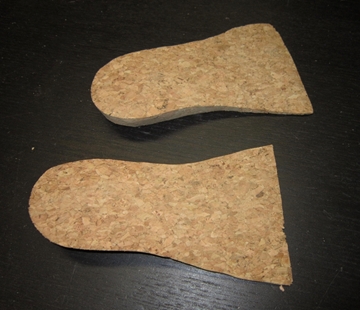
Starting with the outline of the foot and the appropriate measurements, a last is chosen for the mules. I've cut out the foot outline and carved out an appropriate piece of cork to act as the base of the wedge of the mule. |
 | |
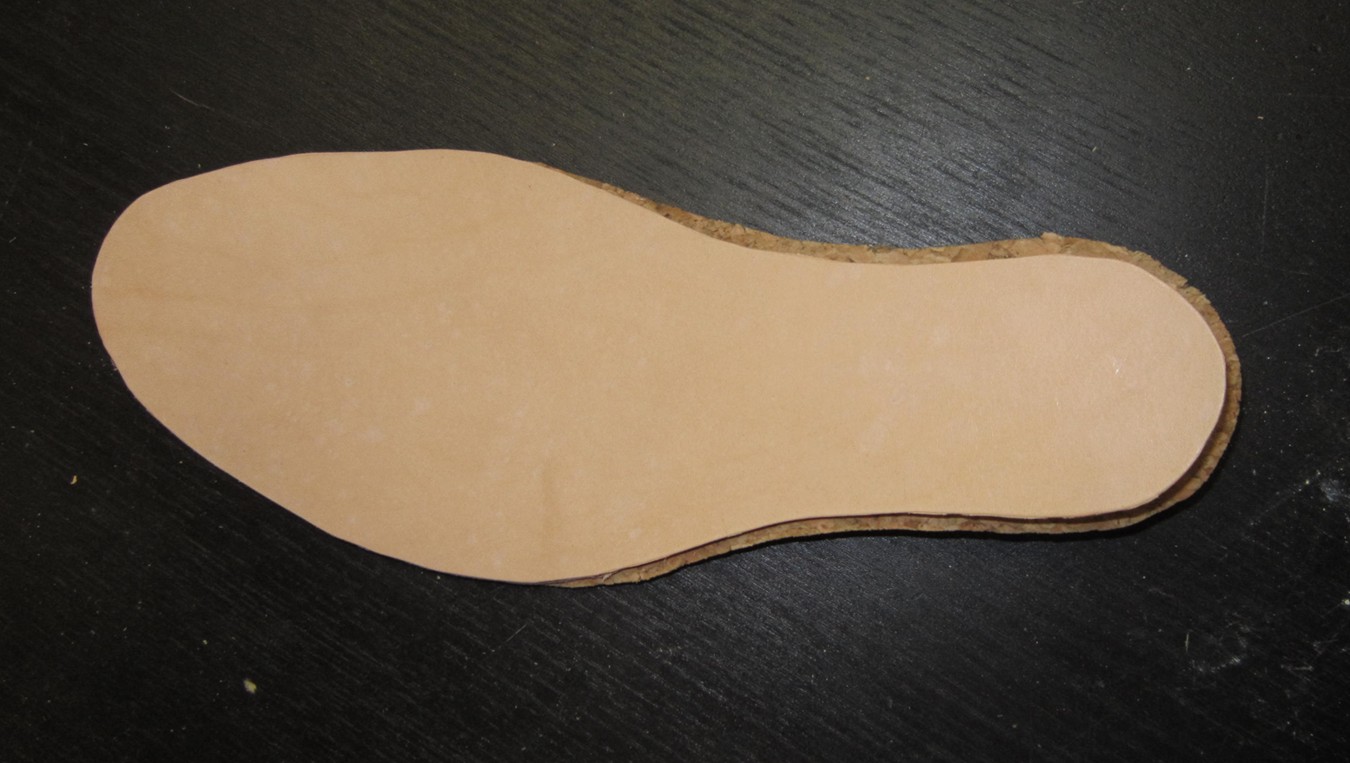
A shot of the cork wedges without the foot outline on top. Notice that the wedge ends just where the ball of the foot lands. This is consistent with modern shoes as well. |
 | |
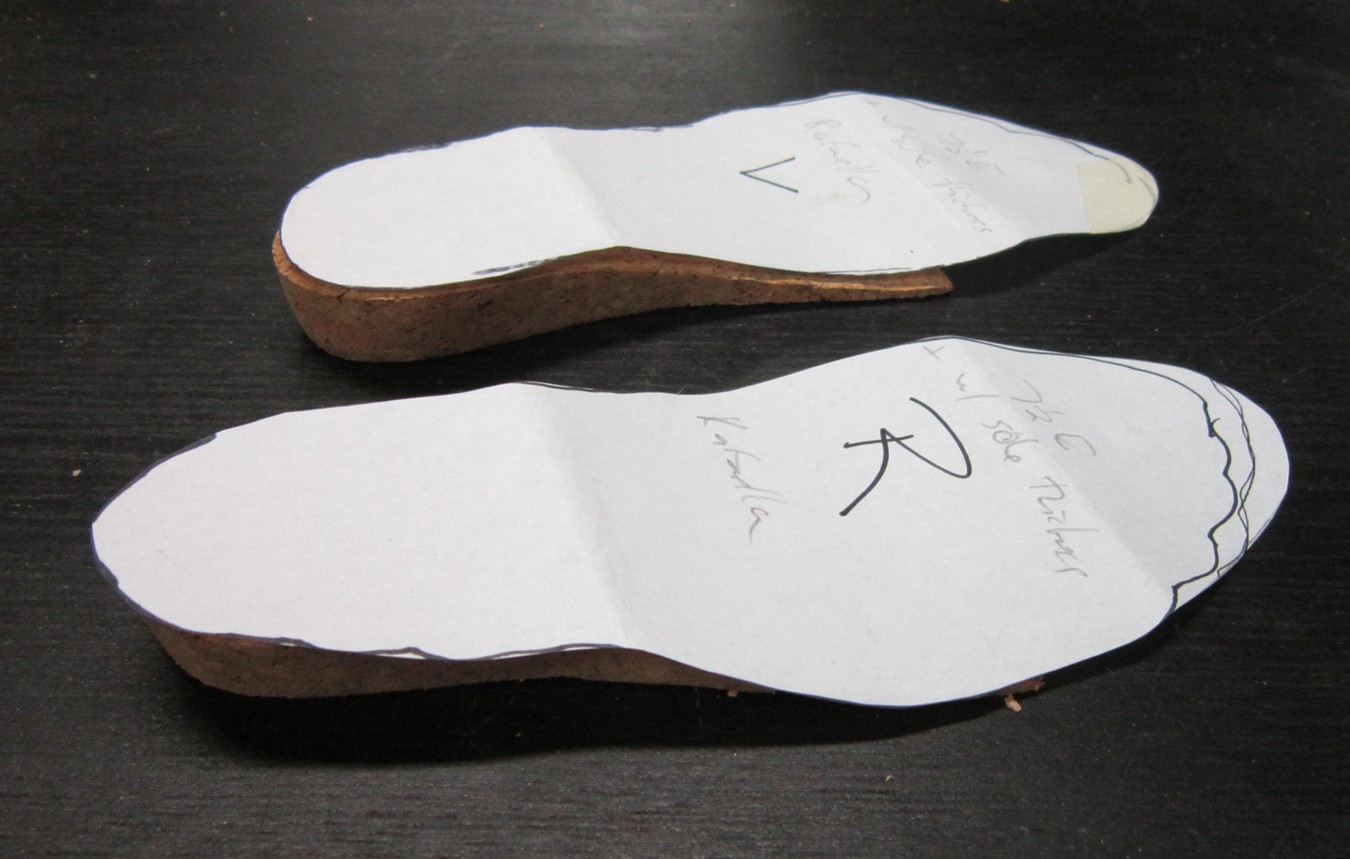
An insole is cut for the mules. This is where things can get a bit tricky. As I mentioned in the previous chopine/pantofle lessons, it is critical to leave a little border around the edge for the envelope material (i.e. the rand) to fold down upon, leaving a nice little border. But, once there is no longer any cork to cover, the insole must take the full thickness of the last. Hopefully, this image helps to describe this more full. |
 | |
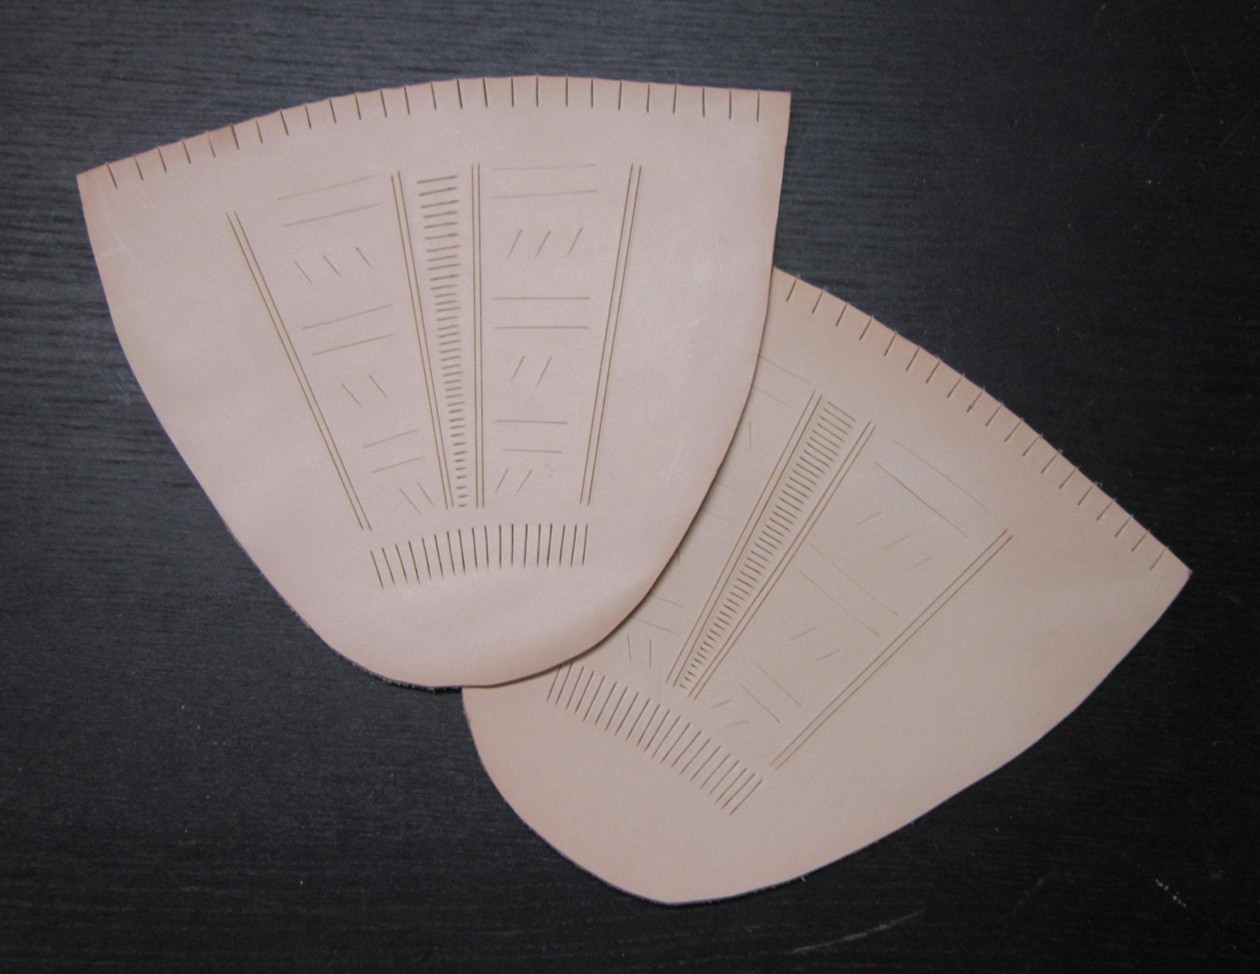
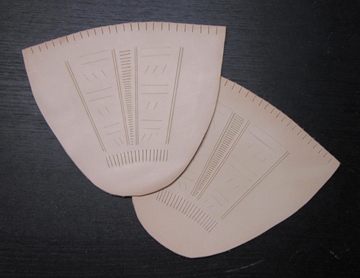
Now that the insole and cork wedge is sorted out, we can focus on the vamp. See the decoration pattern I chose to use based on several different finds. In the pattern, the opening has folded down tabs - due to the short time frame, I decided simply to snip them and leave them be. |
 | |
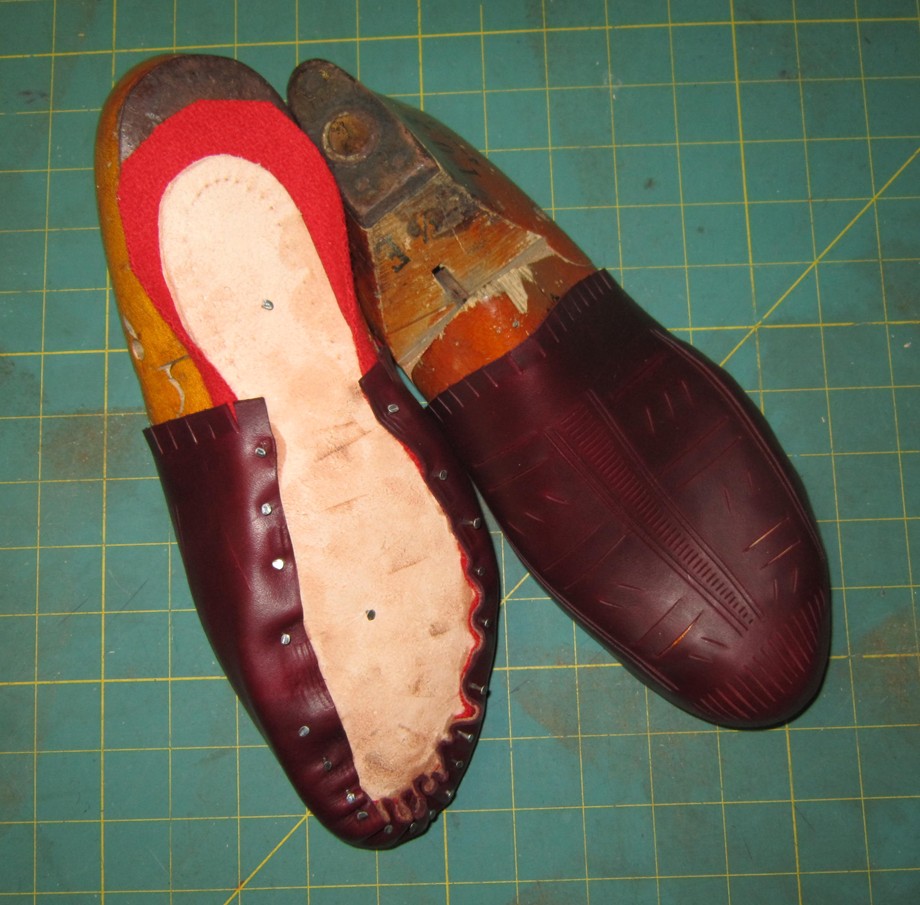
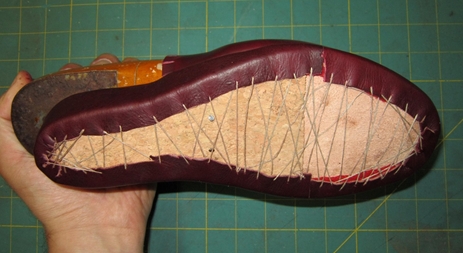
The nice thing about a mule - no closing! We can skip right forward to lasting the shoes. I haven't shown you pre-awling the insole or placing the red wool sock in the last, but those have all been covered in previous lessons. One thing you will also note is that the last I selected is actually much larger than the mules themselves. With a normal shoe which has quarters, this would have been a significant issue. However, the feet of this person are rather large in the front and small in the back. As a result, I was able to simply use a bigger last (instead of building up a smaller last). Because there are no quarters, it does not matter if the back of the last hangs out a bit or not. |
 | |
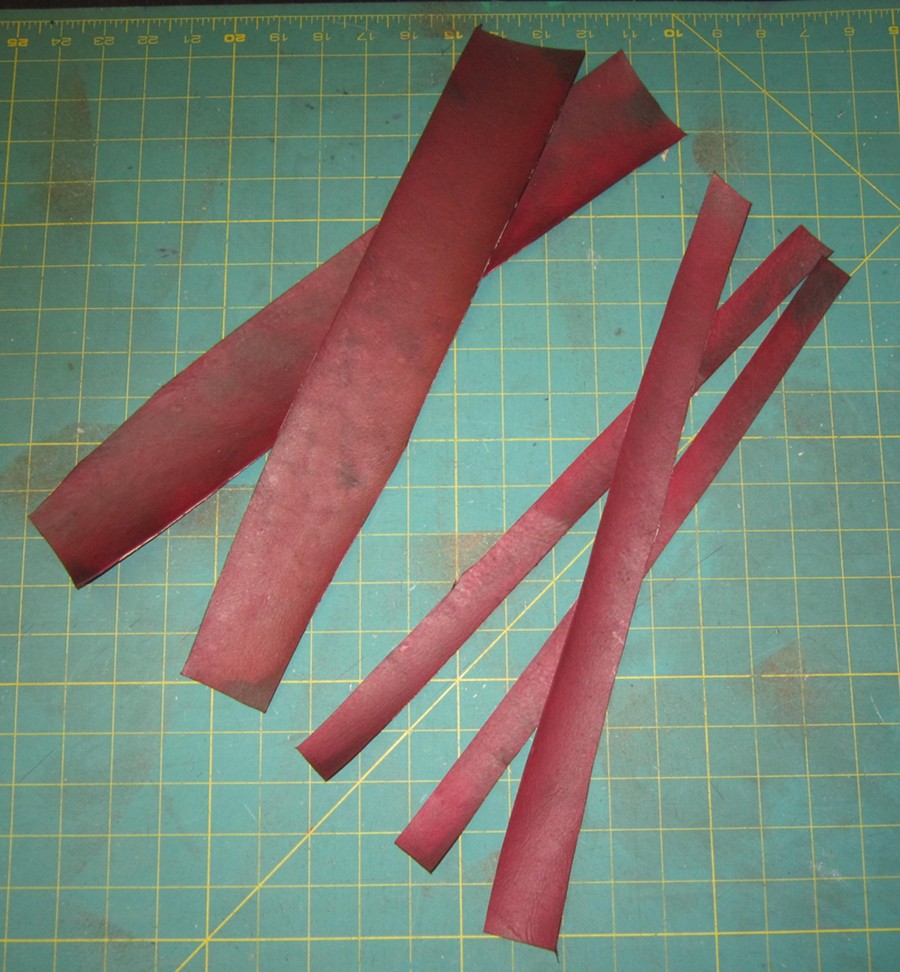
A picture of the rands. Some of them need to be thicker than others to cover the cork wedge. |
 | |
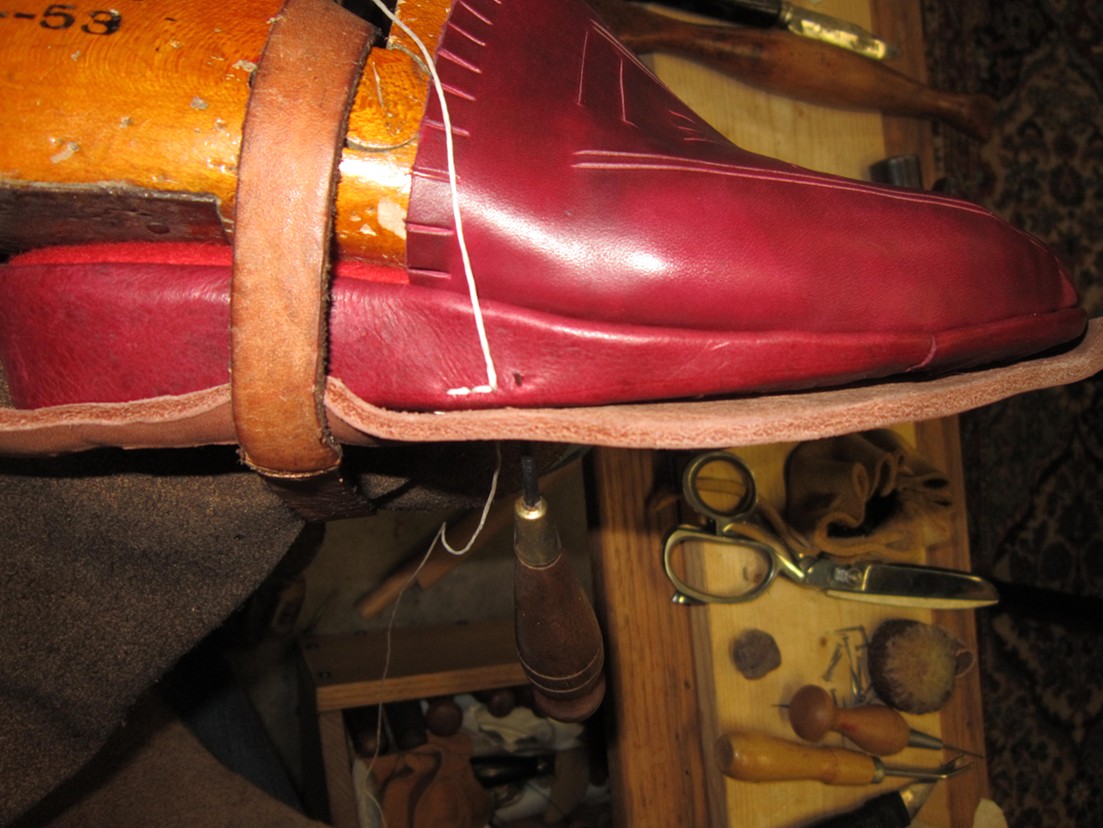
I do apologize for not taking a picture of the inseaming portion (where we attach the rand to the insole), but it is similar to the other lessons. Once the rand is wet, it can be turned down and braced under the cord wedge and the insole as you can see here. There are two nails to keep the wedge in place while I brace, and once it is done, I can pull those nails out. |
 | |
The treadsole has been soaked and tacked onto the last. Then, we can make the stitching groove. You can find instructions here on making the stitching groove in the way I have done. |
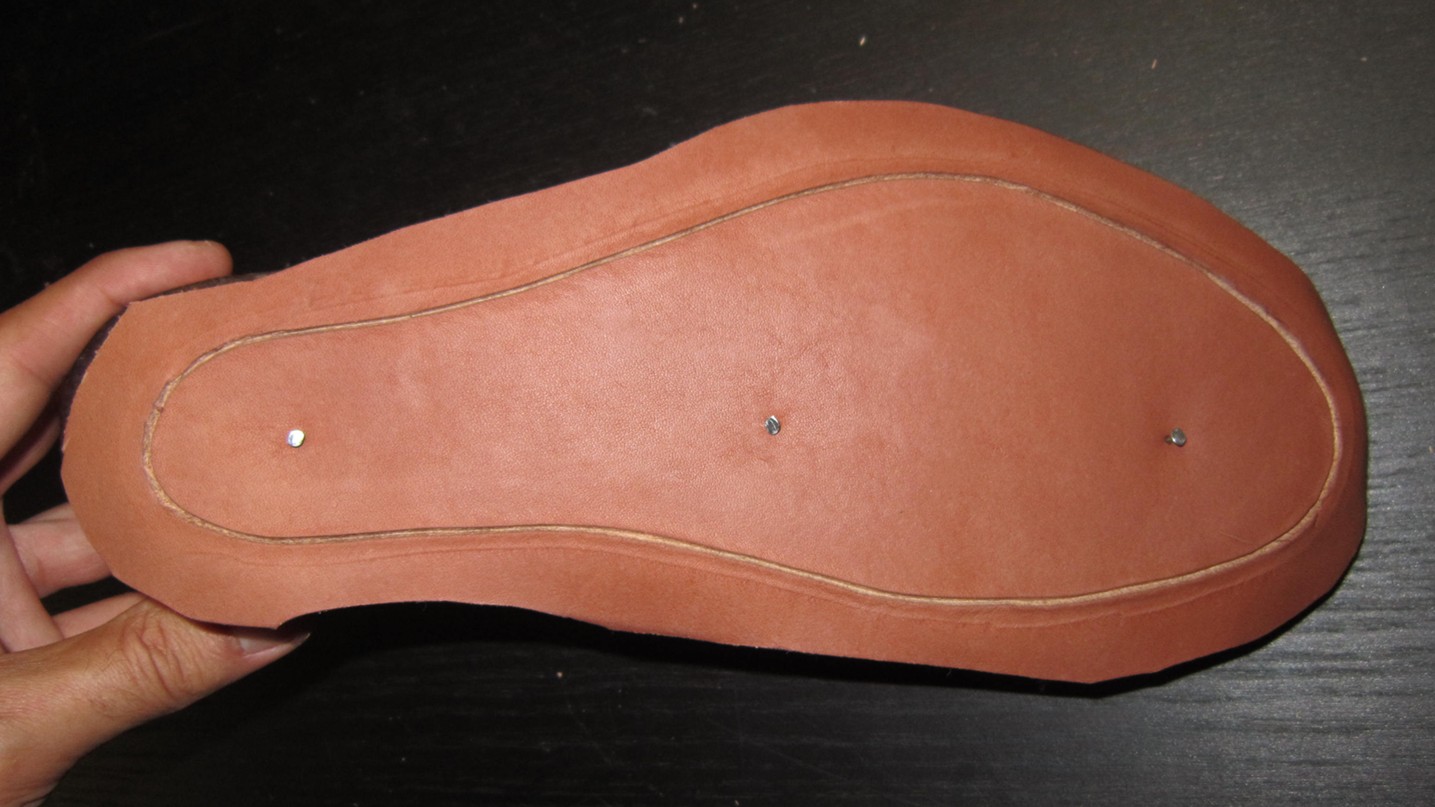 | |
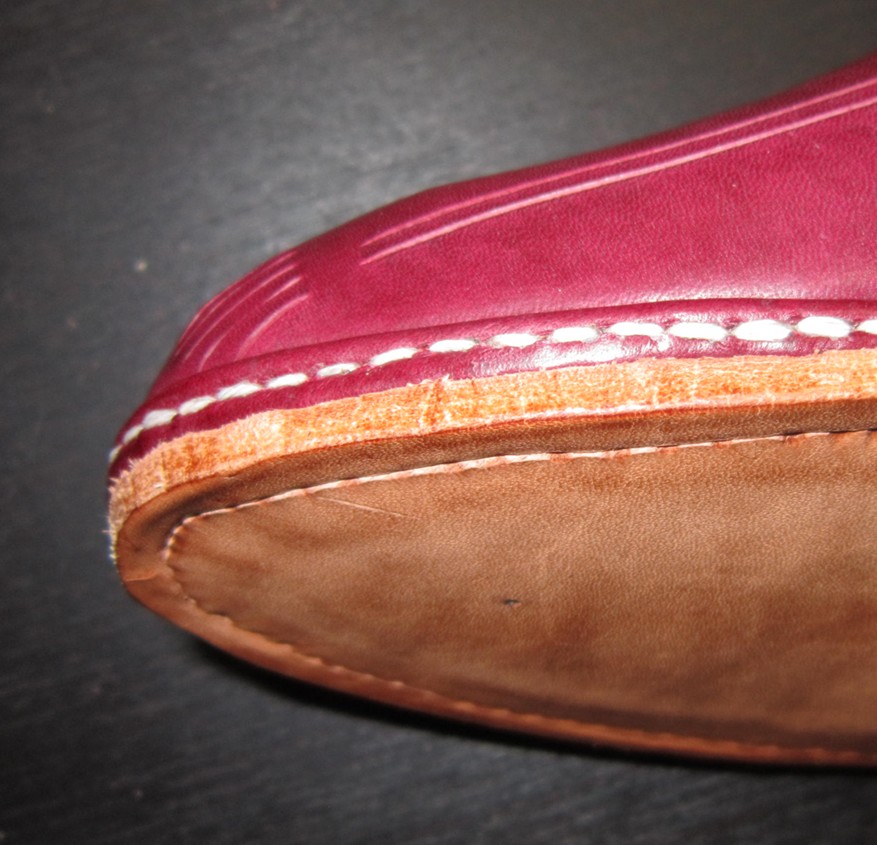
Once the stitching groove is ready, the treadsole (also called the outsole) can be attached. Here is a closeup photo of the third stitch in the process. Note that some people prefer to stitch from the top of the rand through to the outsole, but I find that I sometimes have more control where the stitch lands going from the bottom up. |
 | |
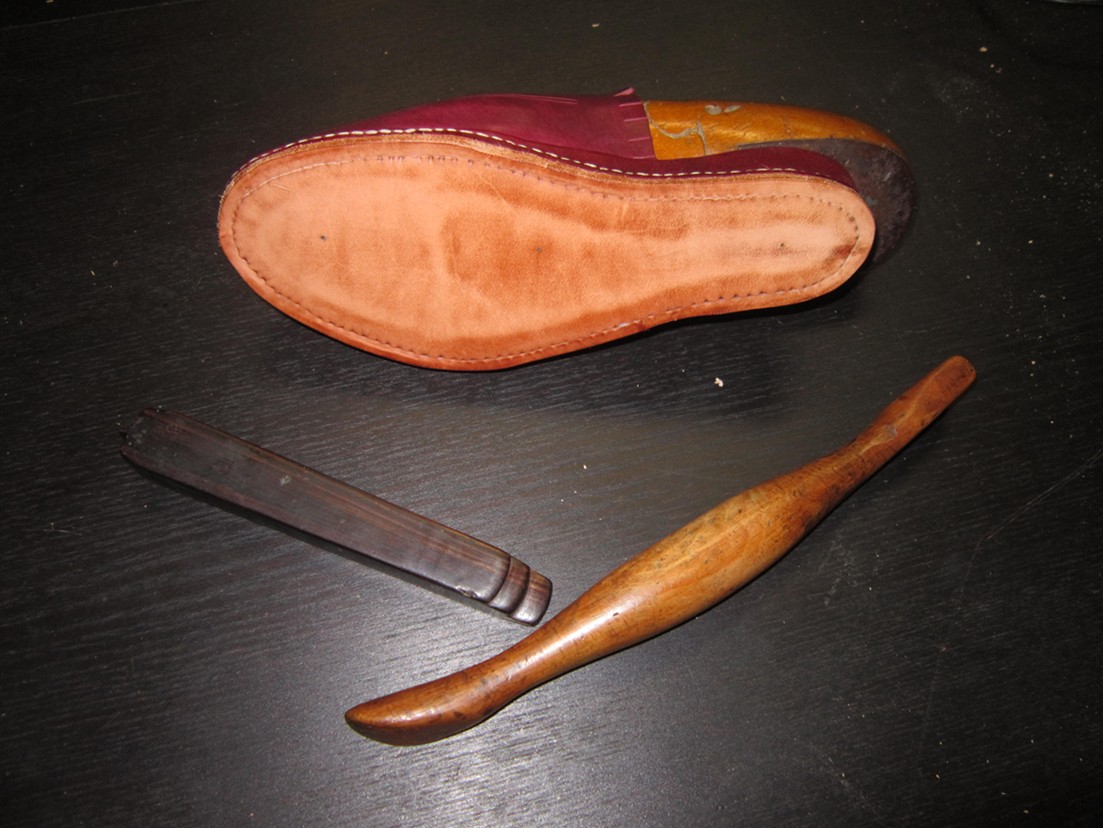
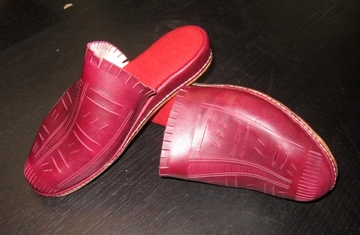
The treadsole itself is burnished with a sole burnisher (shown here, the longer lighter wood tool) to close the stitching groove. Then a pattern hammer is used to completely close the stitching groove. The treadsole is trimmed flush with the rand, similar to how I trim a welt. Then, it is burnished flat with an edge stick while the treadsole is still damp. |
 | |

