February 5, 2012 - When constructing a welted shoe, the stitches attaching the outsole to the welt pass all the way through the outsole itself. In this case, it is common in early modern (even modern!) construction to have a groove in the outsole into which the stitches sink as they are pulled tight. This groove is then pressed or hammered so that it then fully encompasses the stitches. This write-up should give you a good idea as to one method of lining up your stitching groove.
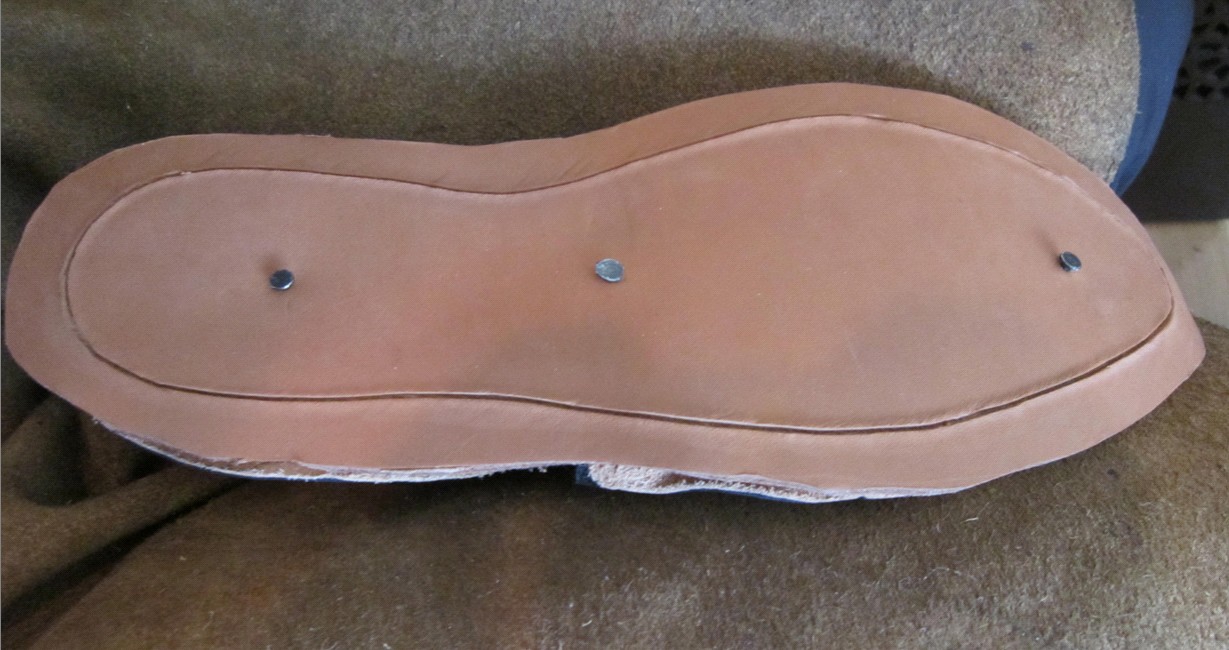
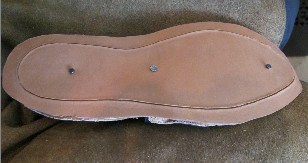
Although it is certainly possible to cut the outsole to size before attaching it, even the slightest mistake could result in a problem. As a result, one ought to cut the outsole larger than the outline of the shoe itself, by at least a good half inch all the way around. Then, do not forget to soak your outsole!! If using sturdy saddle skirting, 2 hours is the minimum soaking time, but 4 hours will make the leather very pliable and make stitching much easier without having to lubricate your awl with beeswax every stitch. This shows the oversized outsole tacked to the bottom of the shoe in three places - the toe, the arch, and the heel. |
|
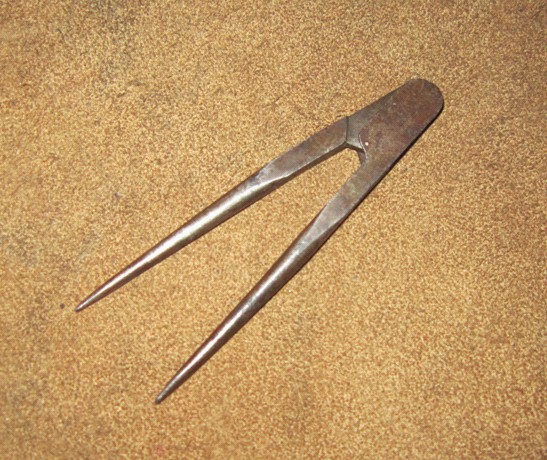
Now, a very useful tool - a pair of dividers. Although I cannot document that 16th century shoemakers used them, they certainly were available in period. This is a very simple pair of dividers, about 5 inches long, which I use to help me gauge where the stitching groove should go. |

|
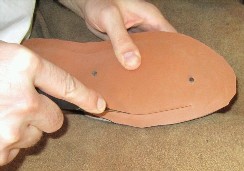
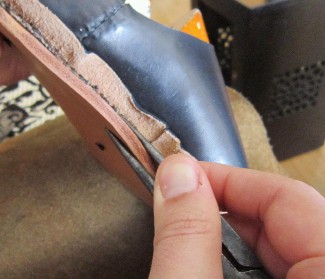
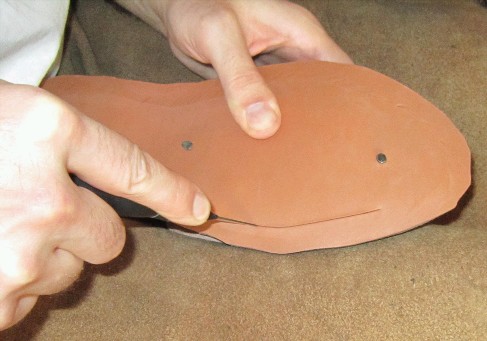
Open up the dividers somewhat, and slide the top point along the inseaming. At the same time, make sure that the bottom caliper drags along the wet outsole. Because the outsole is wet, it will easily receive the impression of the dragging dividers. |
|
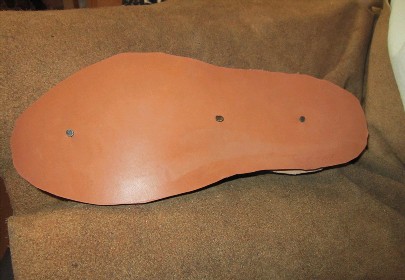
This is what the outsole looks like after having the dividers dragged all along it. Now you have a tracing to cut your stitching groove. If you want your welt as flat as possible, you can cut your groove a little inwards from the guideline. Otherwise, following it directly will give you a nice rolled welt as you stitch, though it may stick out just a bit. |

|
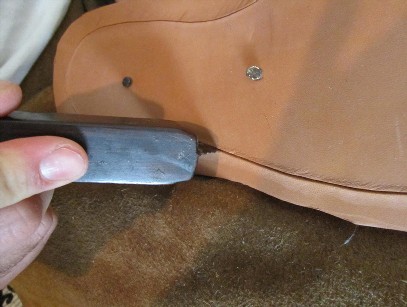
A sharp knife works best for this - take your time, and even if you make a mistake, you can usually rub it out and correct it up. Remember, you need to go at least halfway through the outsole leather. Otherwise, with even just a little wear, the stitches will not be sunk deeply enough to last a good long time. Depending on how sharp your knife is, you might need to make two or even three passes around the outsole. |
|
Next, in order to make your life much easier, you open up the groove with a thick dull knife. I have a rosewood rubbing stick which has a thin projection used not only to guide you as you burnish the cut welt and outsole, but also to open up the groove. |
|
The outsole has been grooved and opened, and is ready for stitching. |

|