Lesson 6: Early 17th C. Lady's Mules (Timber)
November 16, 2009 - This set of mules is based upon an original extant pair from the Bata Shoe Museum in Toronto, Ontario. That's in Canada. =) These mules, dated to the around the first quarter of the 17th century, is heavily embroidered, and sports a silk velvet sock (that's the red fabric lining). The goal here was to reproduce these pieces as closely as possible. I'm indebted to my contacts at the Bata who were instrumental in helping me get the requisite information to attempt to accurately reproduce these mules. This is actually my first pair of real bona fide heels, and although it's far from perfect, I've learned a lot from it, and I've learned even more looking at the extant pieces in the museum...specifically how far I still have to go to even begin to approach the level of skill of the cordwainers of the time. Still, I'm looking forward to my next pair at some point soon! As always, if you have any questions or comments, feel free to post and comment to ask for more information. This page is graphic intensive, so I apologize in advance.
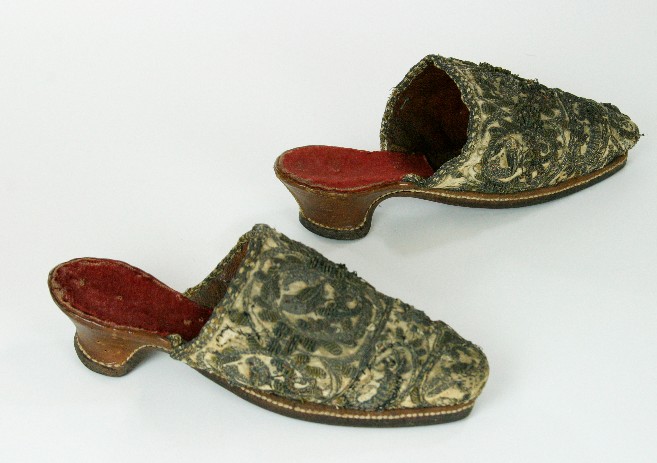
This is a picture of the mules that we're attempting to recreate. Notice the fine stitching all the way around the rand. |
 | |
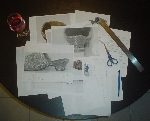
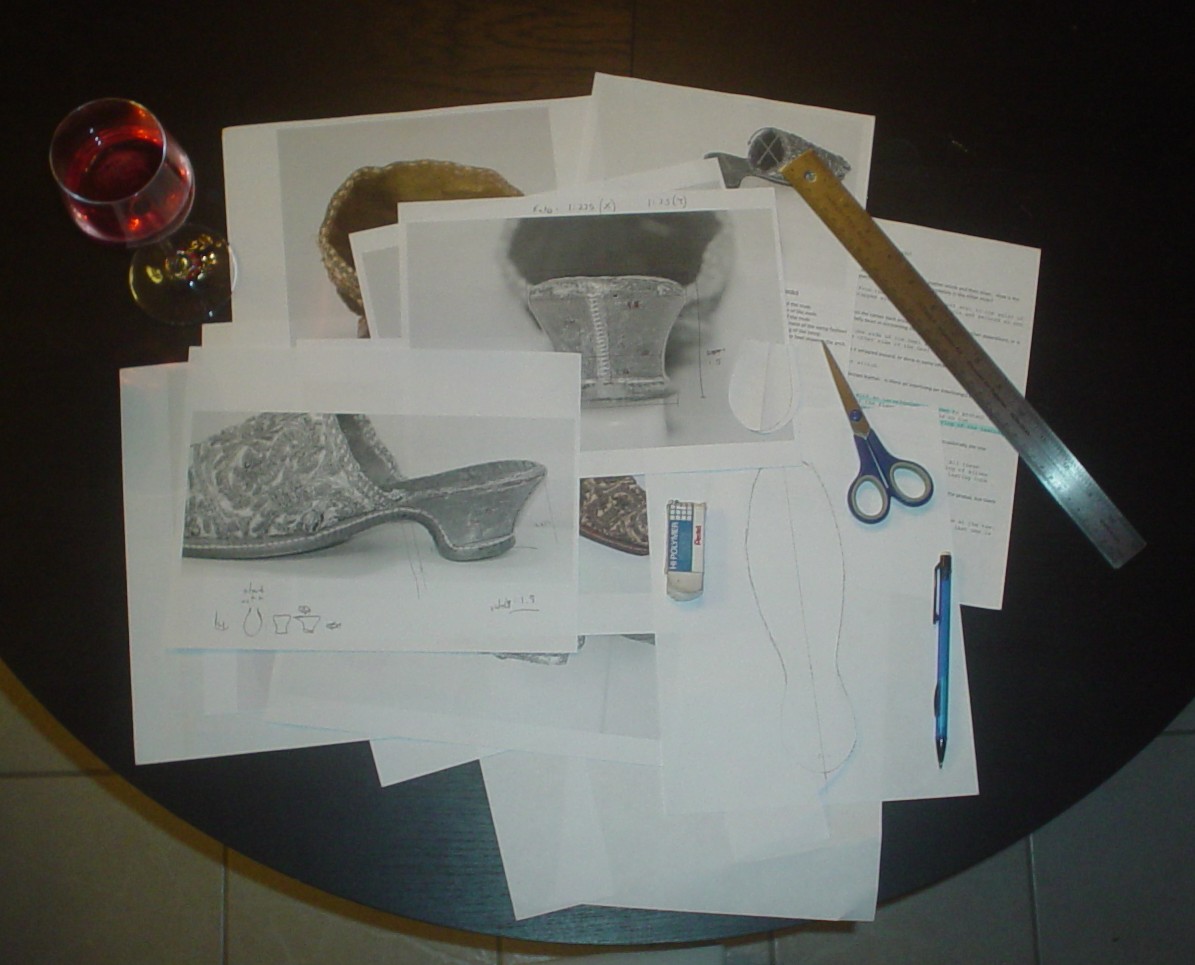
The first step of any project - plan! A nice glass of rose helps =) As mentioned, I was able to get detailed information such as dimensions, close up photographs, and other such information from the head conservator. |
 | |
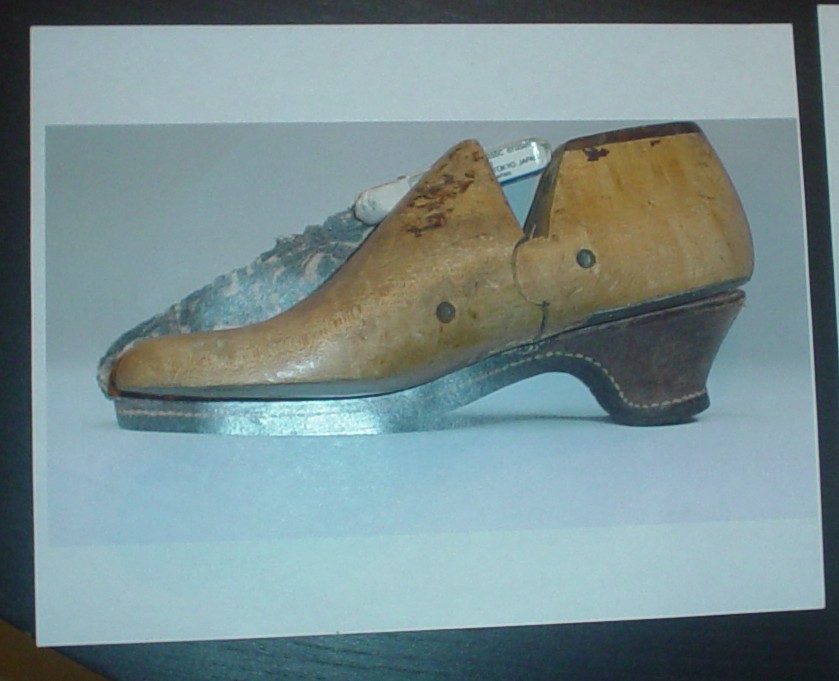
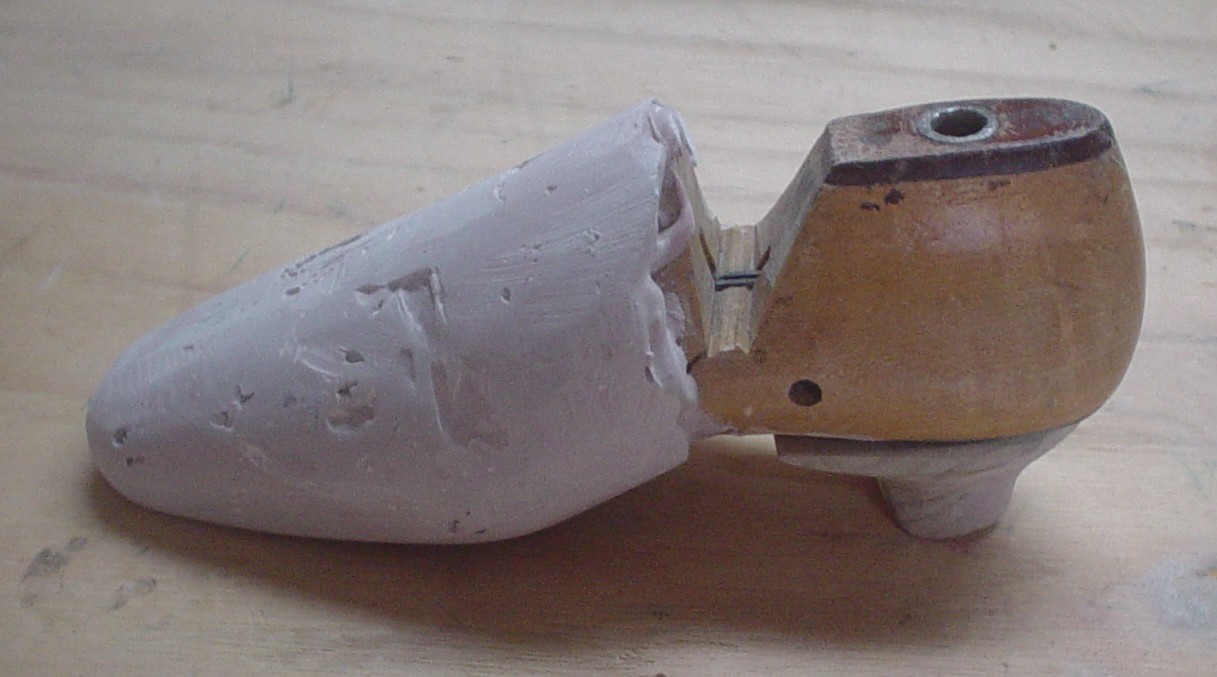
We need to figure out a last for these guys. They were lasted on straight lasts rather than left/right lasts, so we really only need one last. Garsault mentions how it seems a bit silly that left and right lasts are not used, since that is the natural form of the foot, but does admit that a straight shoe is more shapely. Notice how that last I've chosen matches the slope of the picture almost exactly. These pictures are a little smaller than scale, so the resulting piece will be larger. |
 | |
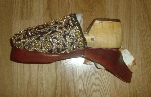
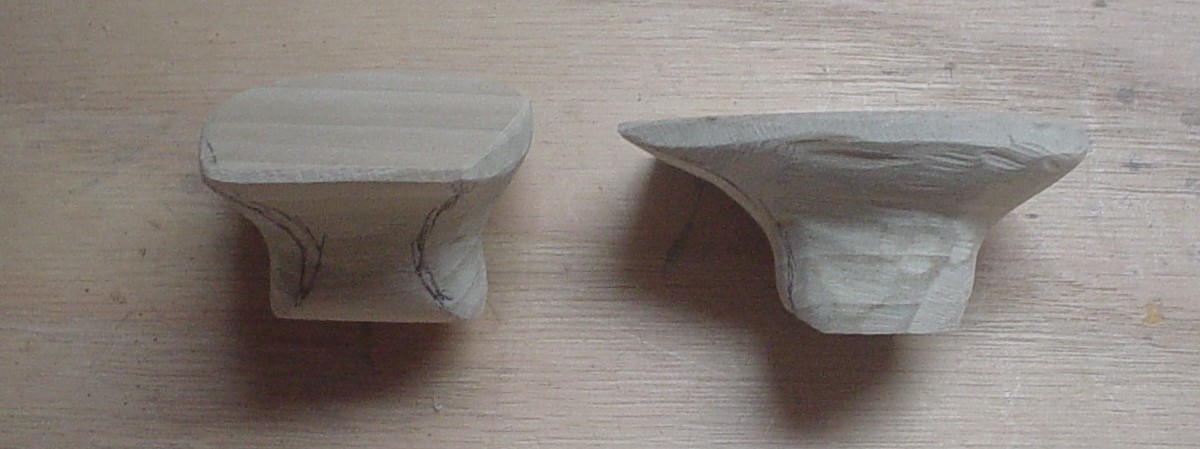
These are the carved heels. I used poplar, which is lightweight and carves well, but in period, alder or beech would have probably been used. These are a bit more shapely than the pictures show (since they look all clunky and deformed), but still, they are not exactly correct. The part where the sides meet the top should have ended at a sharp angle, but from the extant piece, it looked like there was a curve. This curve was actaully formed by the leather wrapping around the heel, and not built into the heel itself. As a result, the reproductions do not adequately match the structure of the heel. Knowledge for next time! |
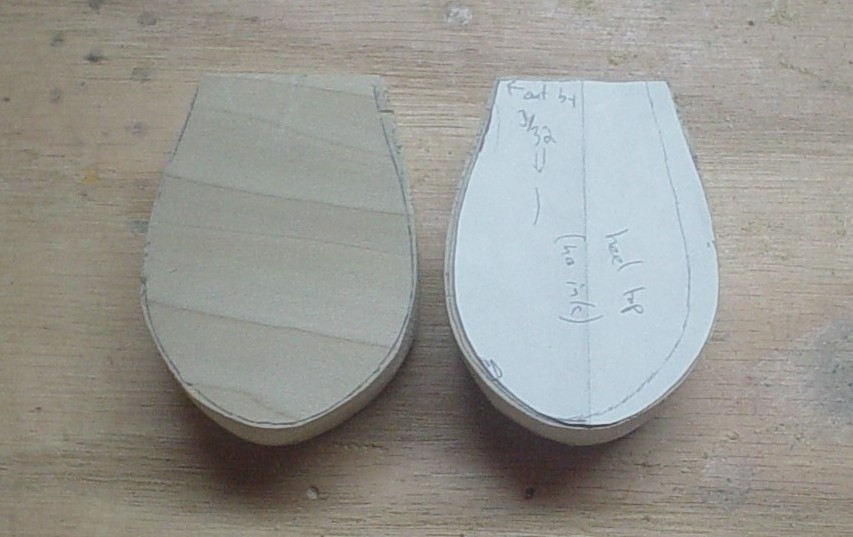  | |
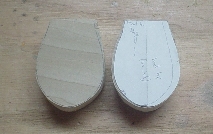
Here is the last modified to match the dimensions provided, as well as the profile of the pictures. I've put the heel underneath it for your reference. |
 | |
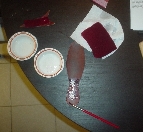
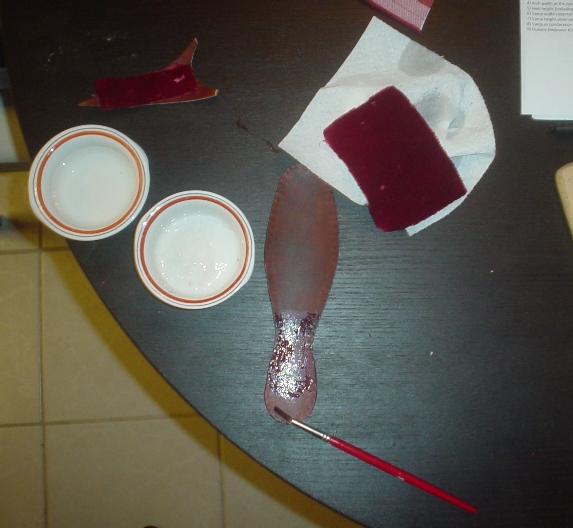
The inner sole was thinner, uncompressed cowhide. Here it is, already cut out, awled and dyed, and is being prepared with wheat starch paste to glue the silk velvet sock to the insole. The sock edge that is perpendicular to the insole is actually a raw edge which is kept from unraveling with the paste. The recipe used for the wheat starch paste (WSP) was found at the Northeast Document Conservation Center's website, the link under section 7.3 at http://www.nedcc.org/resources/leaflets.list.php. I used the simple, microwave version which I found had enough consistency to do the job. Here you see it being applied with a paintbrush. |
 | |
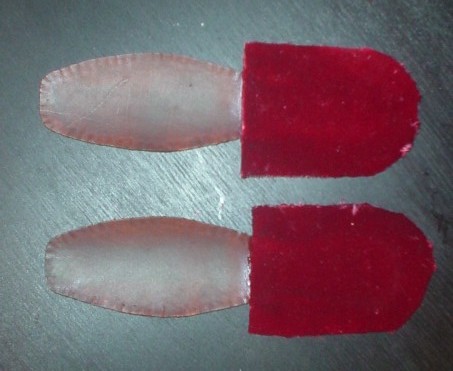
Here are the pasted socks, drying and waiting to be placed on the last. |
 | |
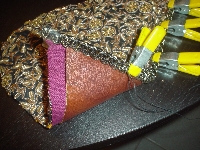
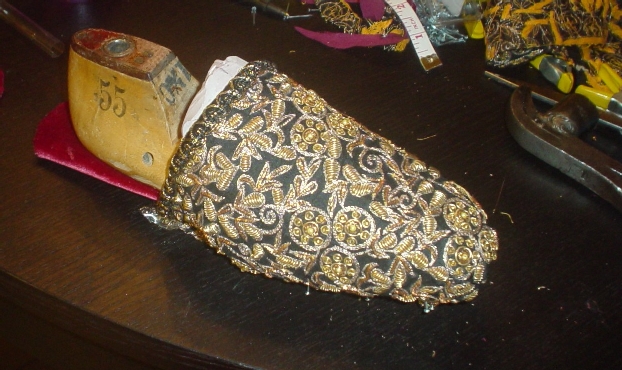
The vamp is made of an embroidered silk dupioni, and no, I did not embroider this =) It was purchased in its current state. There is a thin linen lining in between the leather lining itself. Here, the braid is doubled over and being sewn on with stabbing stitches through all three layers. What is not shown is the toe of the vamp that was gathered to better enable lasting. The vamp lining is deer, as there was not enough kid left for the vamps after I had cut the heel cover. It is not seen anyway, and the weight is the important thing. |
 | |
This shows the insole and the vamp placed on the last, ready for the rand to be sewn on. |
 | |
Fast forward to stitching the rand onto the shoe. The rand and heel cover is made of kid dyed to match the extant piece. We ought also to take a moment to try and discuss a bit about rands and welts. The terminology often is used interchangeably, and to a confusing effect. The term "welt" is a bit more straight forward since its meaning has not changed much today. It still refers to a strip of leather that is stitched wrong side out, and then turned down to sew an outsole to. "Rand," however, is more problematic. In medieval times, the rand was a narrow piece of leather sewn between the sole and the upper, possibly to improve turning or stability, possibly to improve water-tightness. The rand eventually shifted meanings (this is debatable by some =) to mean a piece of leather stitched to the vamp and then turned down and pulled underneath the shoe, instead of out as in a welt. The outsole is then stitched to the rand in the same manner as was described in the 1750 Man's Shoe. Note that the back seam has not yet been stitched. Additionally, you can see the extra piece of leather I added in, thinking that it was necessary to get the right thickness of the rand. It was not. =) |
  | |
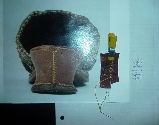
With some help of some talented friends who pointed me in the original correct direction (thank you, Catherine, Isela, and Katherine), I was able to figure out the stitch used to sew the back seam together. First, the back seam was trimmed to meet in the center. Then starting in the upper right corner (while working on the back of the mule), the silk thread comes out (it is knotted so it doesn't pull through) and then crosses the gap and goes down a little. This is represented by the top red line in the diagram. It then goes into the leather, and passes behind the seam to come out on the other side. It then passes over the diagonal thread, and is pulled tight. This gives it the wide characteristic "V" shapes that are observed. You can see my trial piece on the right. |
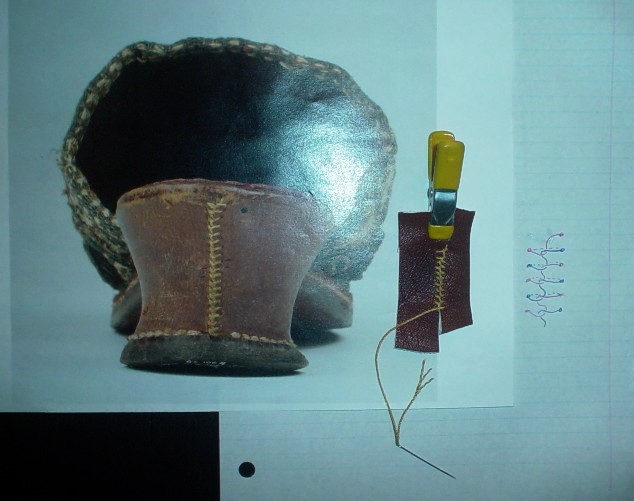 | |
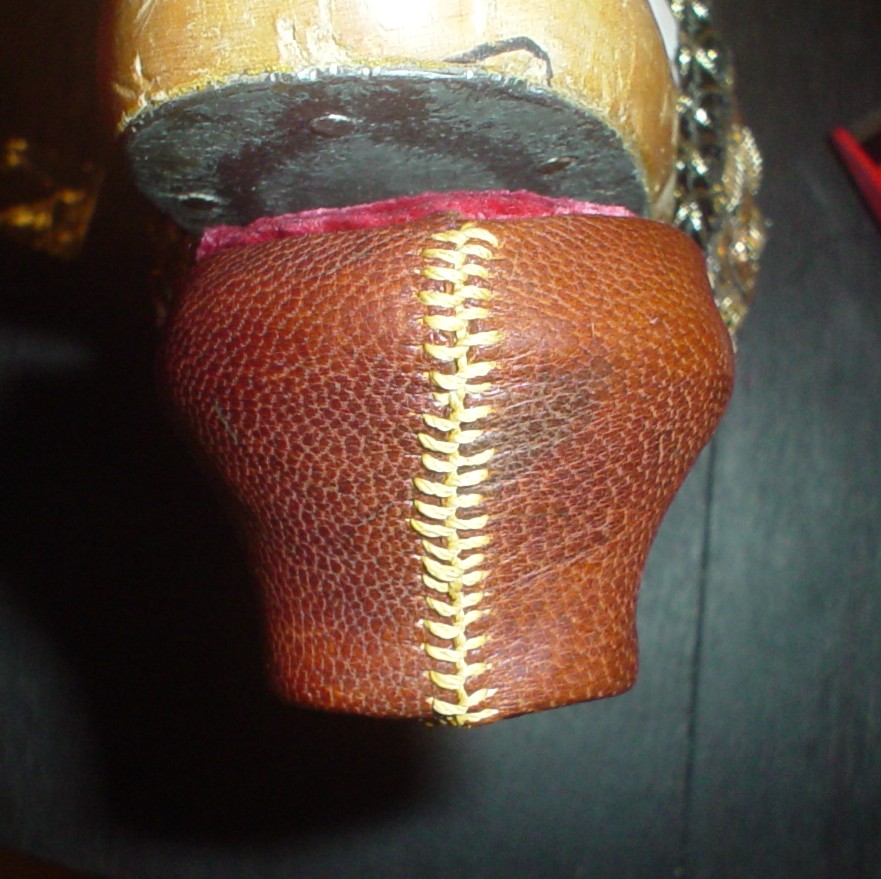
Following through on the actual reproduction, you can see the final results. They're a little uneven and not quite enough "V" for my tastes, and I think the thread used was a little too thick. Practice, practice! |
 | |
The rest of the technique follows the same as the 1750 Man's shoe, in which the rand is pulled underneath and tacked to itself to make it smooth. The outsole was compressed cowhide, as is typically called for (one hammers the thick leather to compress it). There were some interesting differences in construction, as you need to wet the thick sole leather and bang on it to get it to take the shape of the curved heel. This was tough, since I didn't actually have the right tool to bang it into place - that is the traditional polished head hammer and the peen on the other end. I need to get me one of those on Ebay =) Once it's formed, it gets even more interesting when you get to the curvature of the heel. It was very difficult to get the threads through diagonally to sew the outsole to the heel cover. I'm pretty sure that I needed to put my stitching groove much closer to the edge of the sole, and not angle it nearly as much as I did on this pair. This shot is a picture of the bottom of the shoe compared with the original. The sole should have been wet and pounded flat to completely hide the stitching groove, and it also probably should have been rasped to roughen it a little and not make it so slippery (pun not intended =). |
  | |
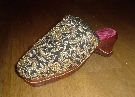
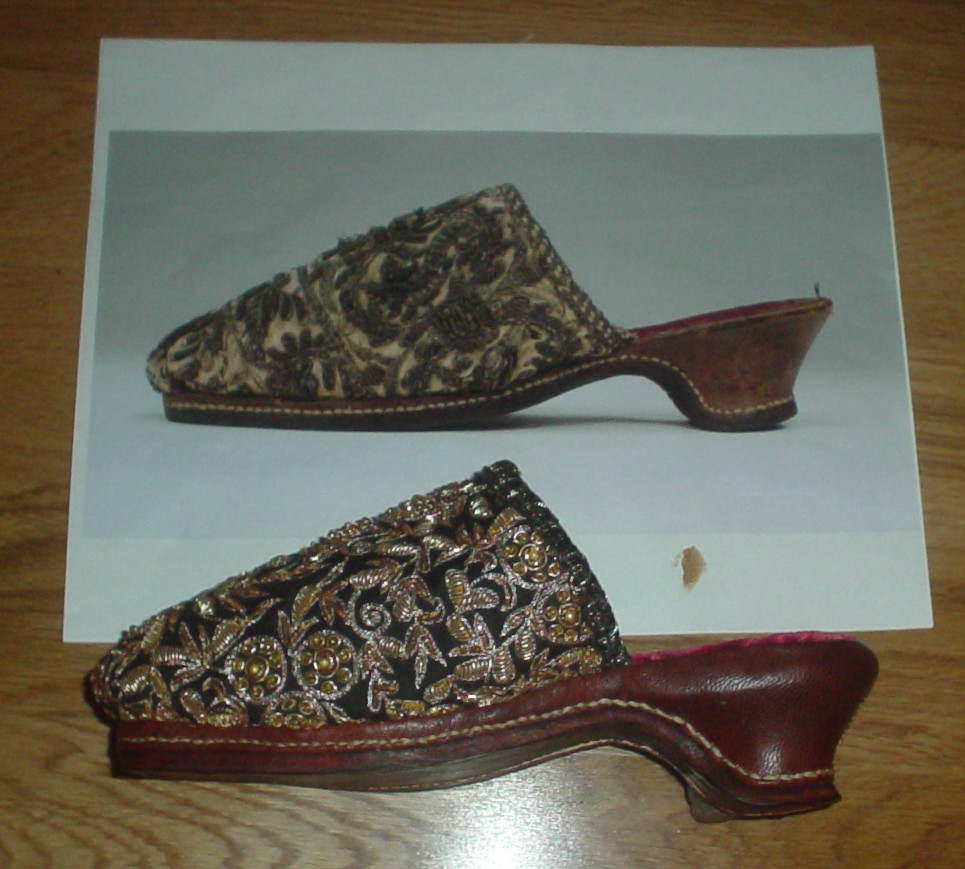
A side view of the mule compared with the original. The reproduction looks angled and different since the photograph was taken while the mule was standing upright, and I took mine while it was laying on its side. |
 | |
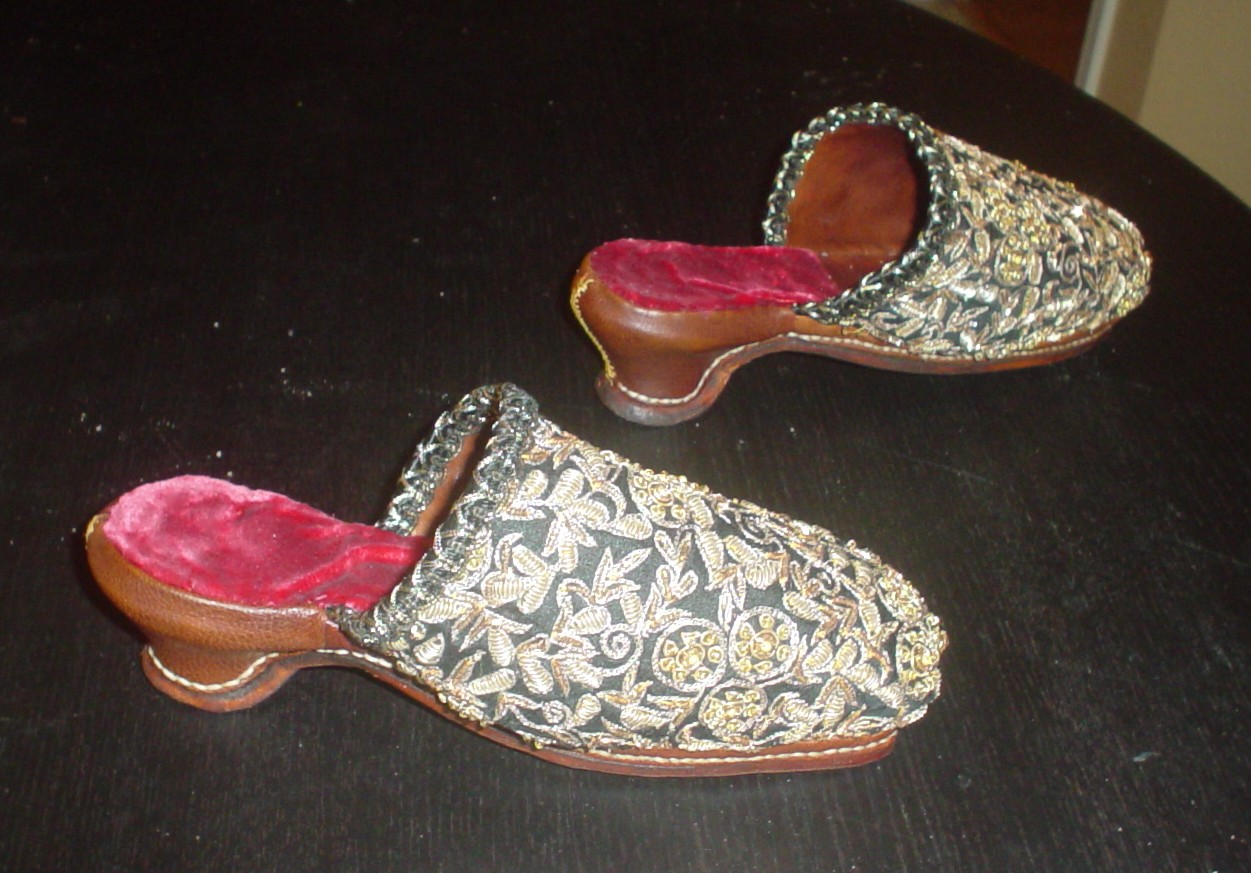
A shot comparing the original to the reproduction, and then an oblique shot of one mule. As I said, there are quite a few things I would have done differently. Specifically (and this is really more for me than anything else): |
 | |