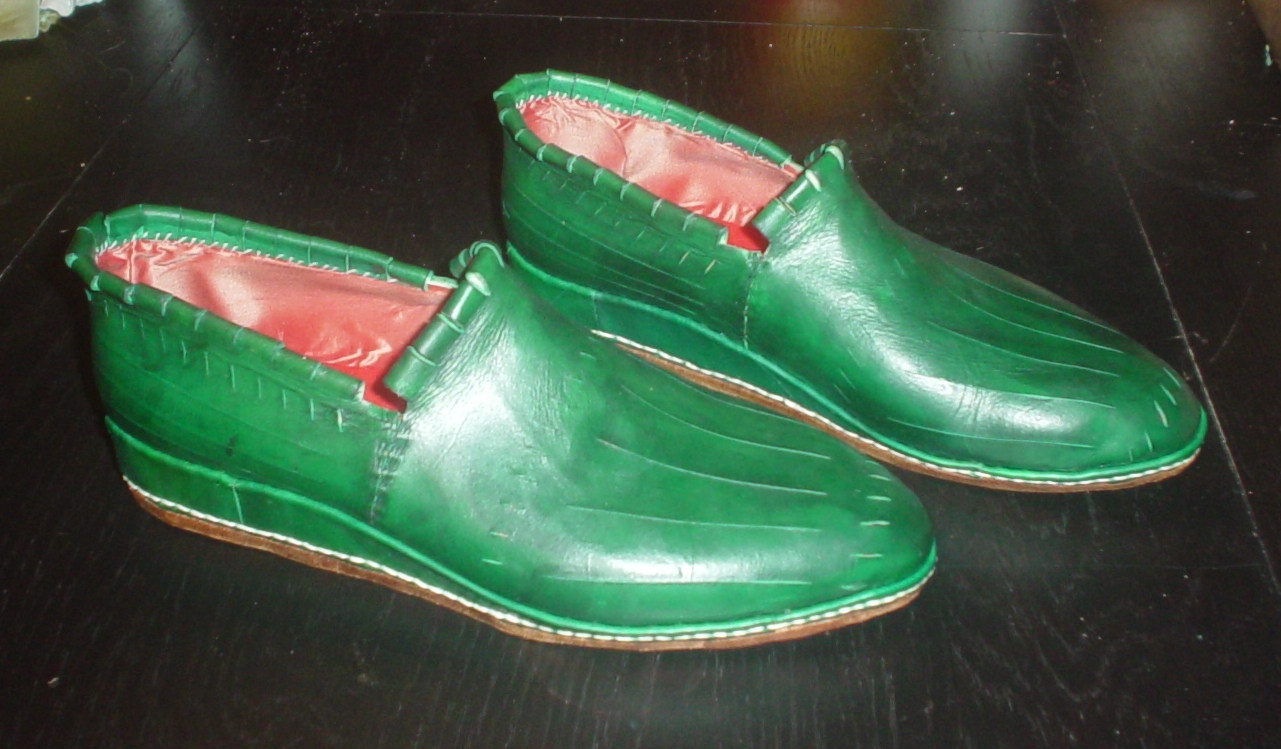
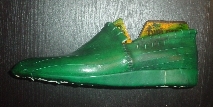
August 18, 2011 - I promised a pair of shoes to the fabulous Kendra Van Cleve (http://www.demodecouture.com), and her only stipulations were that they were to be green, 16th C., and have a 1" heel. Although I was tempted to do a late 1600s shoe similar to the previous Lesson, I decided instead to do a cork wedge, something that I've always been curious to try. Although the camera shows the shoes as a light kelly green, the actual color is much closer to a forest green - the lighter image is a result of the flash.
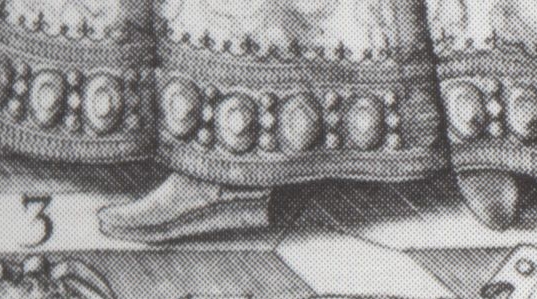
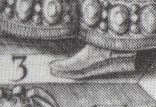
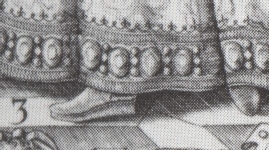
I place these shoes around the 1580s, but to be fair, the stylistic elements and construction methods were not unknown in the 1560s, though the majority of cork wedges appear about 20-30 years later. Here are two images (engravings by Rogers in the 1590s, from Queen Elizabeth's Wardrobe Unlock'd) which provided the construction inspiration. The lower image is primarily what I was basing these shoes upon, although I wanted more of a height differential in between the toe and the heel. |

|
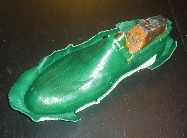
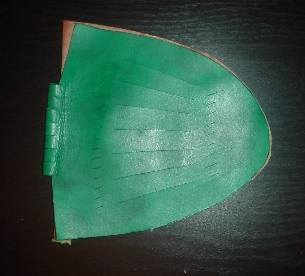
Most of the construction has been covered in previous lessons, so we will cut to the chase. Here is a shot of the upper, with taffeta backing. I should note that The short slashes are deep ones, but the long ones are just surface scores. I also did something a little differently with this pair - instead of catching the lining into the seams of the upper, I left it separate and simply stitched the linings together once the upper was closed. Not only was it quicker, but it allowed me to close the upper without any taffeta interfering with the seam, which is sometimes a problem. |
|
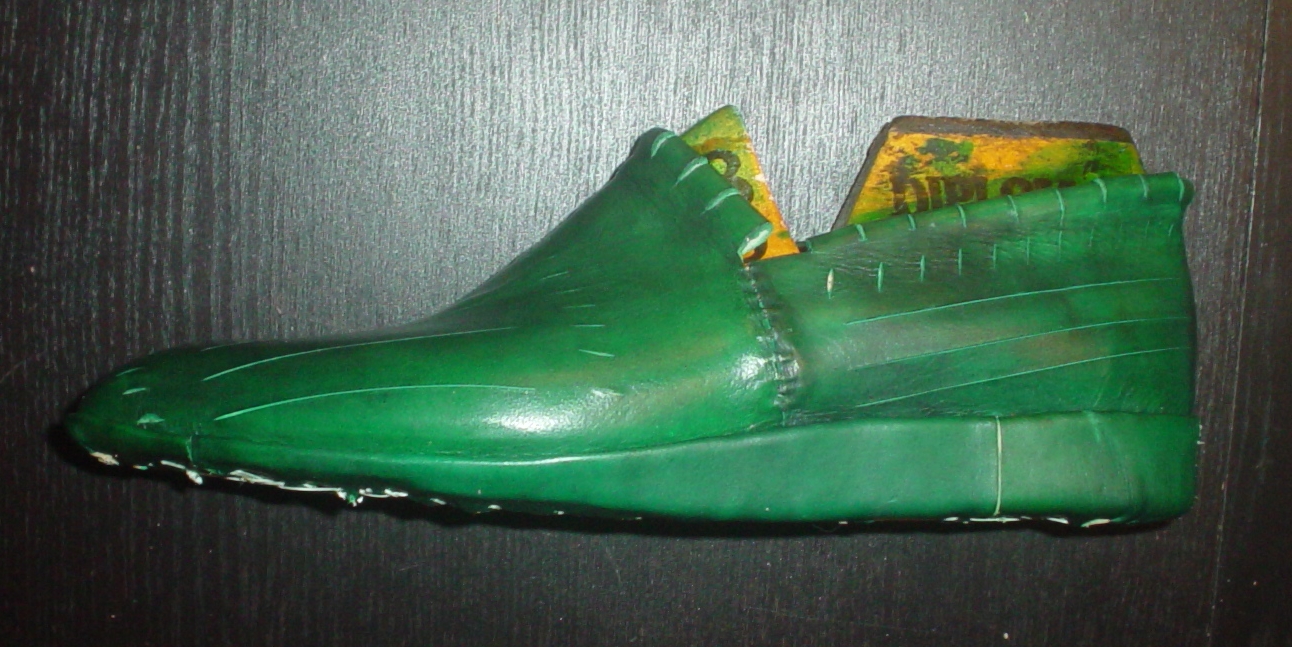
The closed, lasted, and inseamed shoe. I learned quite a bit on this project - specifically, if you are going to create a shoe with a rand, it makes much more sense to have a rand that is a straight piece of leather, rather than one that curves to fit the shape of the lasted shoe, as I have done here (and in all of my previous pieces). For a welted shoe, where the welt is splayed outward (much like in this photo), it makes some sense to have the welt follow the shape of the last. However, with a randed shoe, we will be taking all of that material and tucking it underneath the shoe and bracing it. If you have a rand that follows the curve of the shoe, it has a longer arclength around the edge than a straight piece of leather would, resulting in more bunched up leather when you brace. I had this problem with the heel, which necessitated cutting through the heel cover, something I was loathe to do. I hope that was somewhat clear!
I should also note that in my recent examinations of Goubitz, it does appear that many of the 16th C. welted shoes use 1 part, 2 part, or sometimes 3 part welts. There is no way to cut a welt according to the line of the shoe in one part without being incredibly wasteful of leather, so I strongly suspect that welts were cut straight, and wet a little bit prior to outsoling. I plan to do this for my shoes in the future. |

|
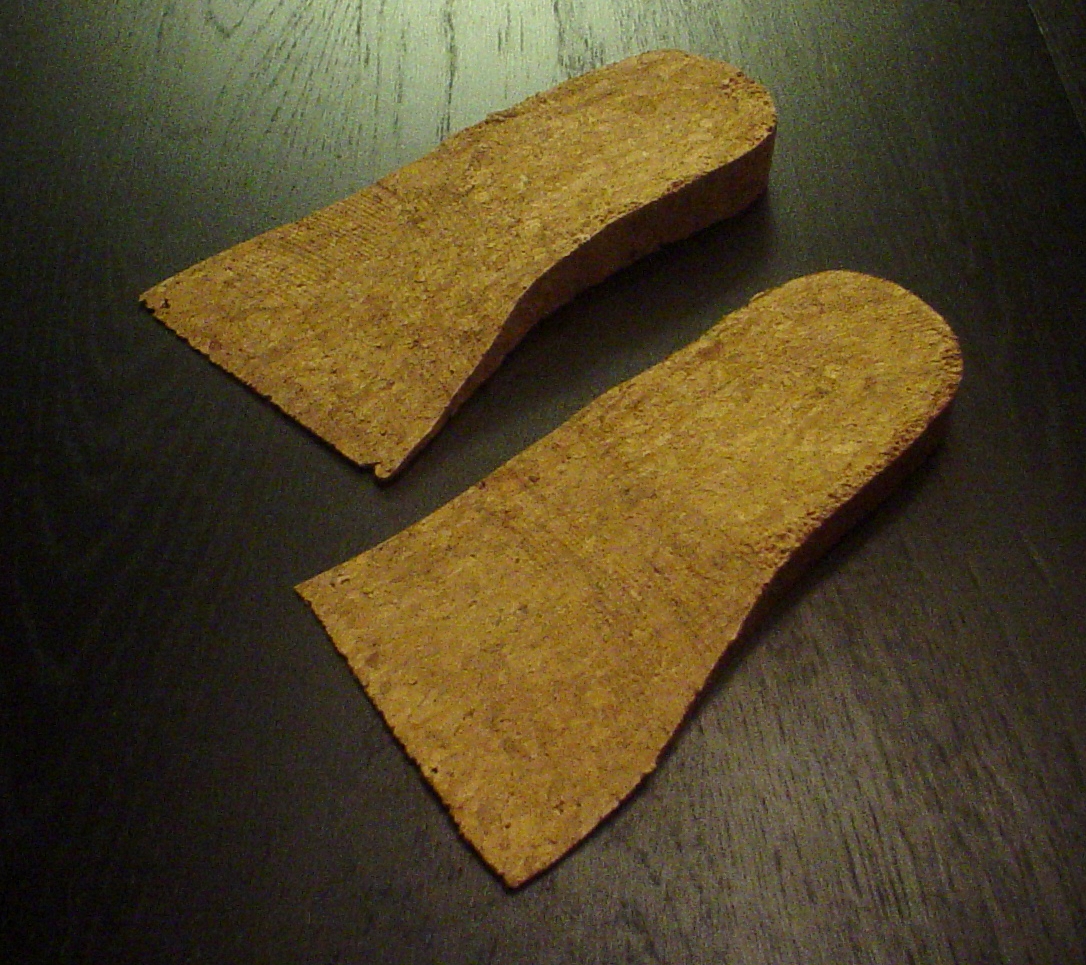
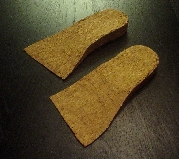
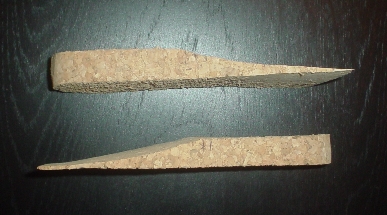
Now, the carving of the cork. I used bulk cork, as that is what I had available, and the carving went pretty well. Note how the cork stays thick at the end, and then has a significant drop in angle - although one might say that this is due to the use of modern lasts, if one examines the engravings above, they are not all that dissimilar. Note that they gradually become feather thin. As was stated in the previous lesson, don't forget the heel cup! |

|
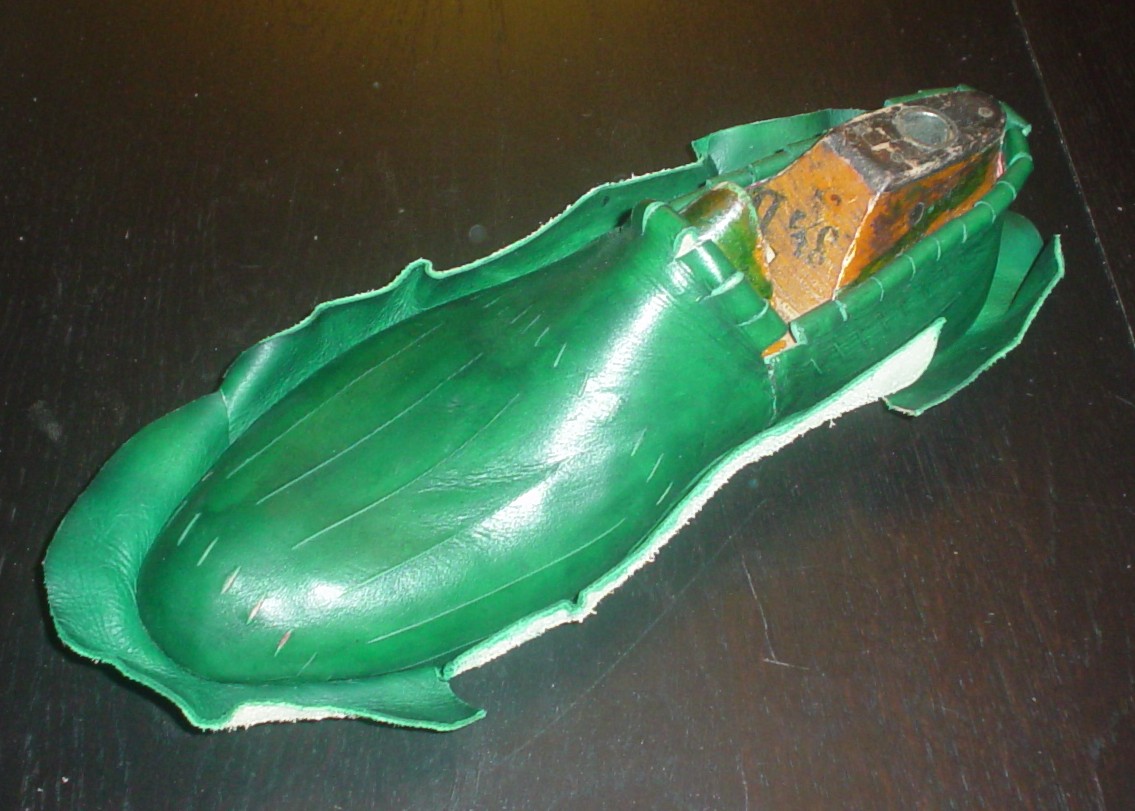
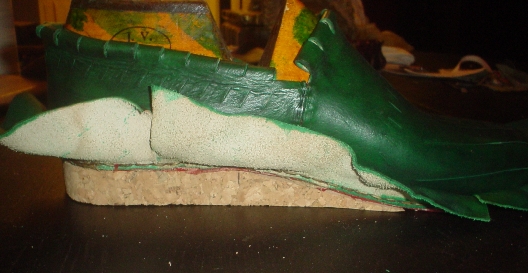
A photo of the unbraced shoe placed on top of one of the cork wedges. Note how the cork aligns perfectly to the last - the tighter this is, the more comfortable the shoe will be. |
|
The braced shoe. This bracing, as I said before, was rather tricky because I had cut the rands to follow the curve of the shoe - doing this again, I would have certainly cut them straight. That goes for the welts as well on regular welted shoes. |

|
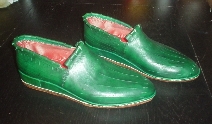
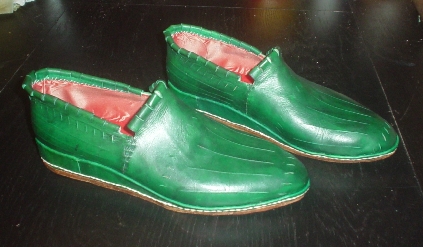
The finished shoes. The outsole was stitched on as normal, and I again used a slightly curved awl to do so - it is working out much better for me than a straight awl. There is a sock of red wool inside, and the salmon taffeta is visible. What else is there to say - I'm pretty happy with the way that they came out! |
|