Making Shoemaker's Wax (Coad)
June 8, 2011 - My good friend Matt L., from whom I had learned the fundamentals of shoemaking (he had done quite a bit of research on his own and done some work with the fine folks from Williamsburg) had been meaning to get together and make real coad for a while now. Finally, we decided that shoemaker wax and dinner sounded like a grand idea, so we made a date. The process didn't take longer than an hour, and was very informative. There is a whole discussion on the topic at The Crispin Colloquy - Hand Wax / Coad discussing the process and materials. Al Muckart's Blog also has some detail on his site for creating a blond wax, using only pine rosin and beeswax. However, many of the recipes we have for coad call for a significant portion of pine pitch, and we used that as well, as you will soon see. All pictures on this page are copyright Sarah Goodman.
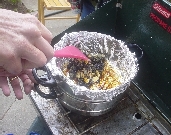
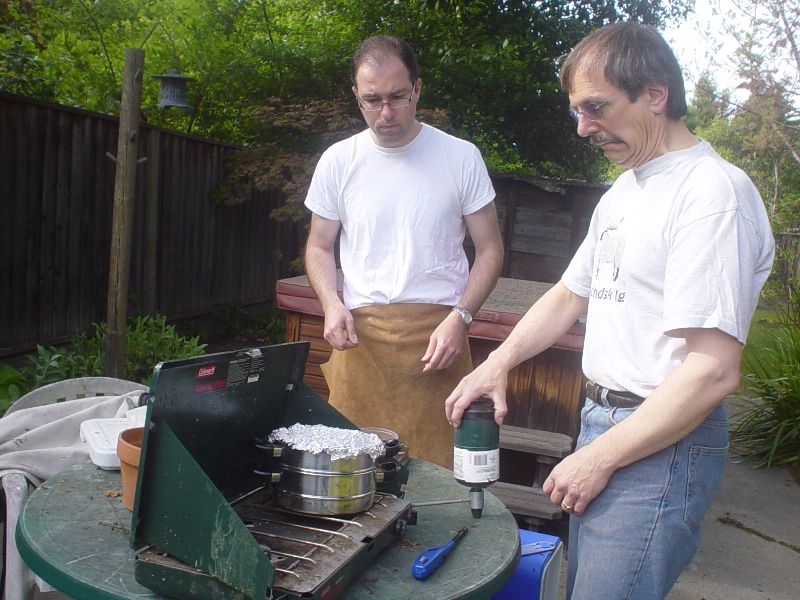
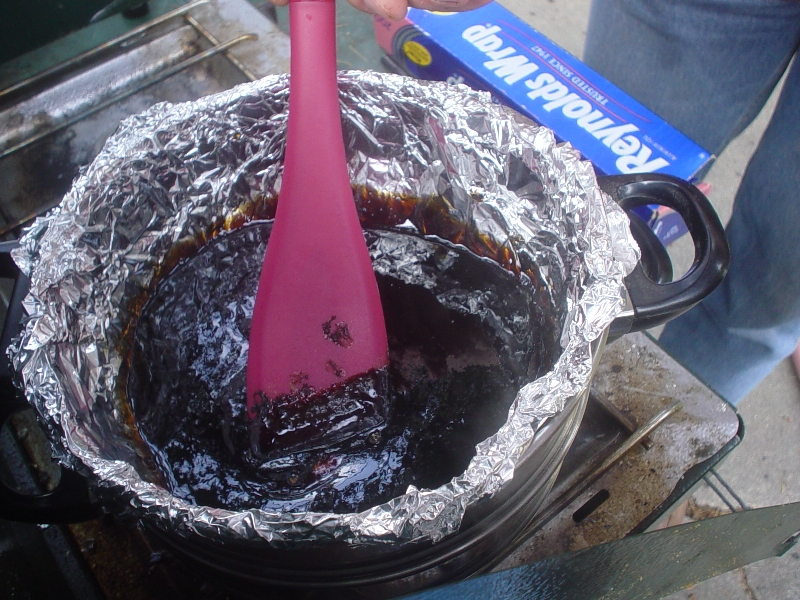
We did this outside (for obvious reasons), and used a coleman stove with a double boiler. The double-boiler is convenient to ensure even heating and will avoid melting or burning your ingredients too quickly. I have no idea what was happening at this point in time, but we both look very disturbed for some reason! |
 | |
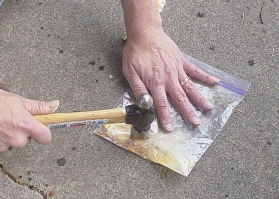
The topic of wax is a fairly sticky one (pun intended) and to help clarify, I suggest reading through Marc Carlson's discussion which gives historical information and recipes. We elected to use Recipe #2, which comes from Colonial Williamsburg, combining a mixture of Pine Rosin to Pine Pitch to Beeswax in the proportions of 1 : 2 : 0.333. That is, one part rosin, two parts pitch, and one third part beeswax. Here is shown a chunk of pine rosin, also called colophony, which is a hard, amber substance. In order to aid with melting, we ground the rosin by beating it as shown. |
  | |
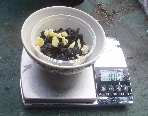
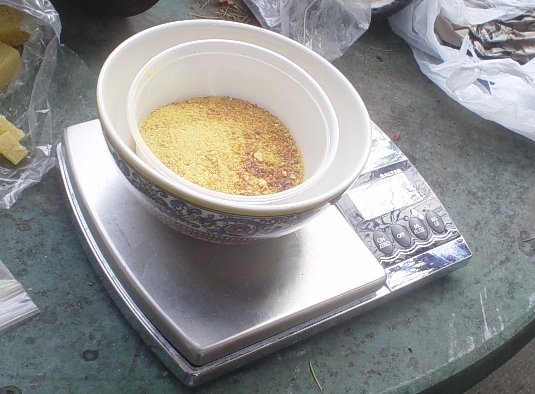
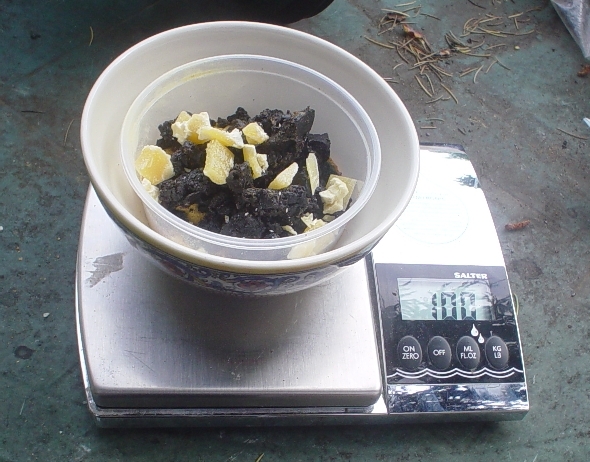
A mass of 30g of ground rosin was measured onto a kitchen scale. The accuracy of the scale was +/- 5g, so we decided to aim for a weight of about 100g. Split in two, each of us would end up with a piece about 50g (based on Al Muckhart's advice). Here the rosin is measured in. |
   | |
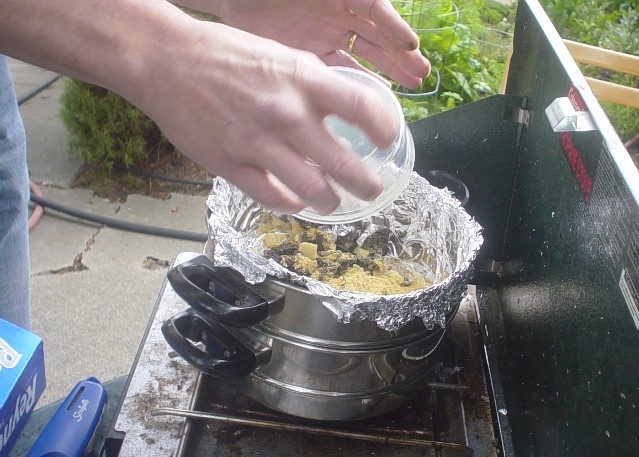
The mixture is unceremoniously dumped into the double-boiler. |
 | |
Being careful not to tear the foil, the mixture is moved around and begins to melt. The Rosin melted first, likely because it was on the bottom and was in granular form. |
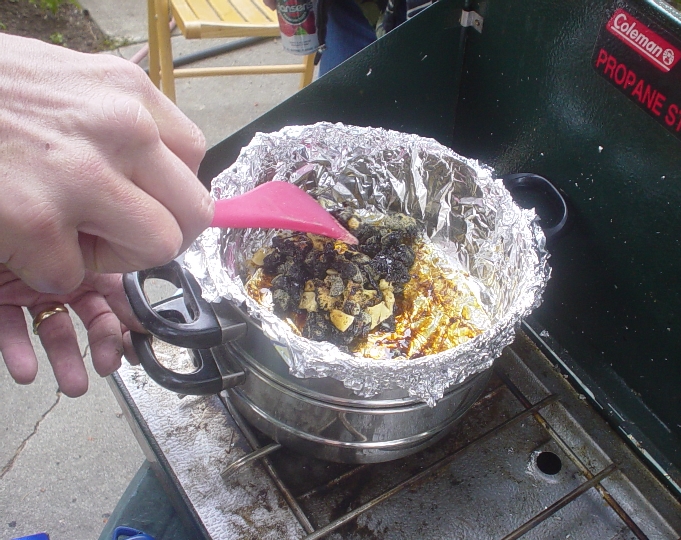 | |
The beeswax melts next, and you can see that the pitch is melting also, but it is still lumpy. |
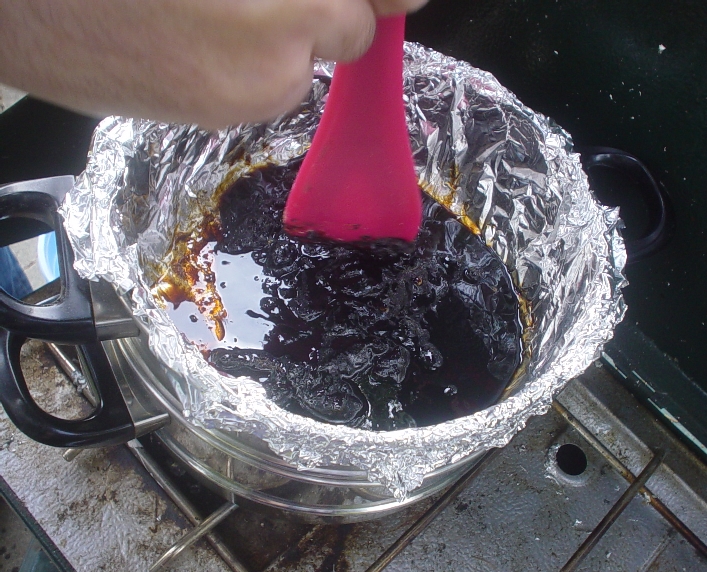 | |
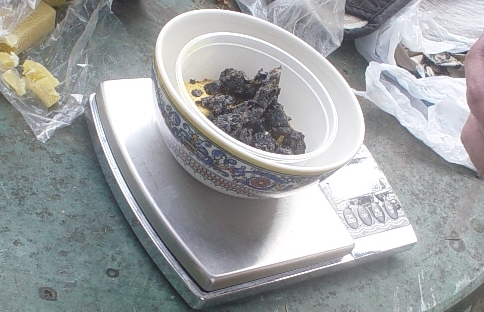
The entire mixture has fully melted, and is a homogoneous liquid pool of black goo. It is now ready to be poured into a bucket of water to cool. |
 | |
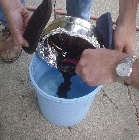
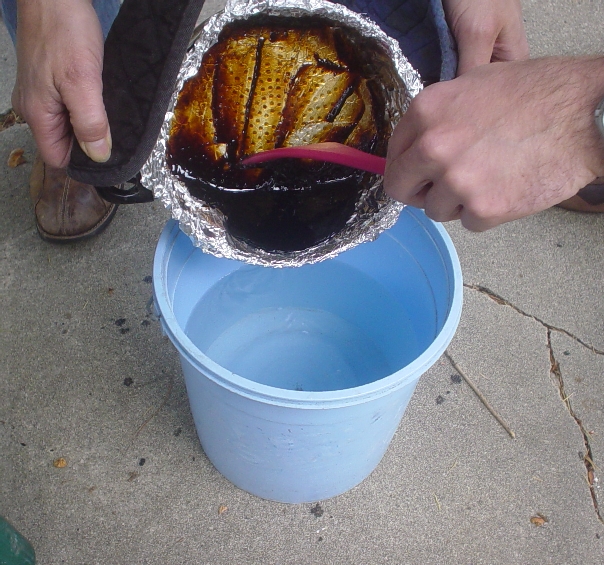
You may not want the water here to be too cold. If it is too cold, when the pitch is poured in and forms into a ball, the exterior will cool too quickly while the interior remains hot - we used cool water which seemed to work well. Notice that we are gently pooling the melted mixture at the bottom of the pot. |
 | |
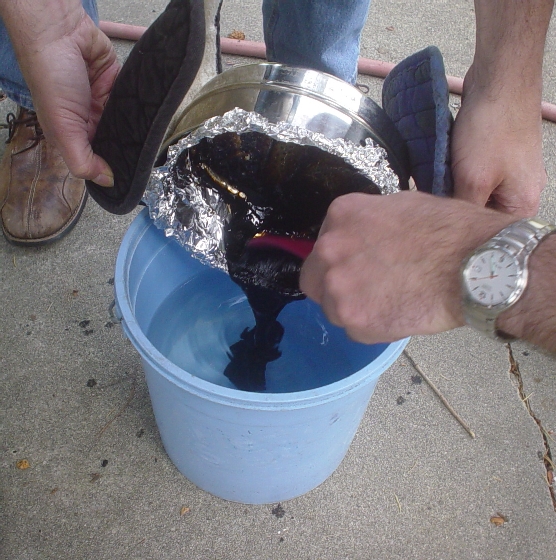
In it all goes - try and do this as quickly as possible in a steady stream without spilling hot pitch all over the place. |
 | |
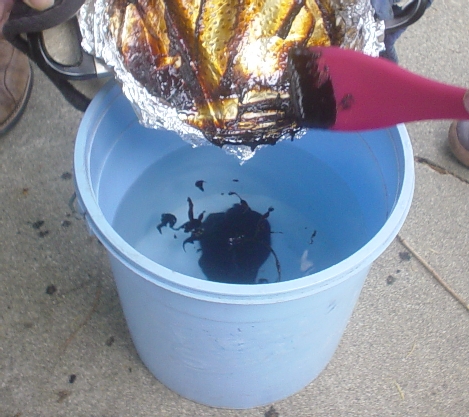
You can how the mixture has already pooled into a ball. |
 | |
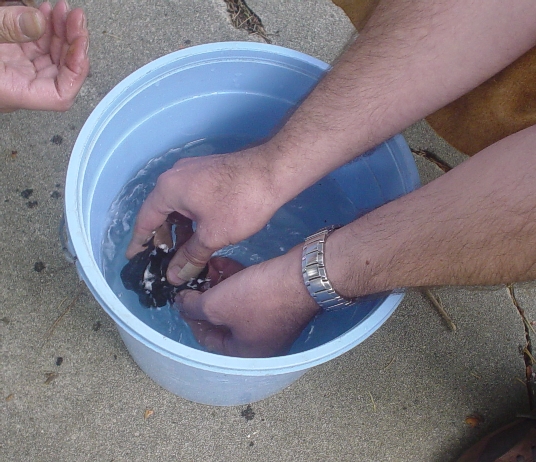
At this point, you need to massage and work the wax in the water. The outside will have cooled, but the interior is still molten. Be brave, as you have the cool water to help insulate you from the hot pitch. You should not be burned. As soon as the entire mass is still very warm, but you are able to handle it, pull it out of the water, as the next step, the pulling, is best done when the wax is very warm. |
 | |
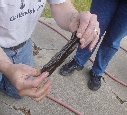
The next step is to taffy-pull the wax - this helps to make the wax more uniform, and ensures that the wax is plastic enough to do the job. We were able to pull to about two feet without the wax breaking. Do this until it becomes difficult to pull any more. |
 | |
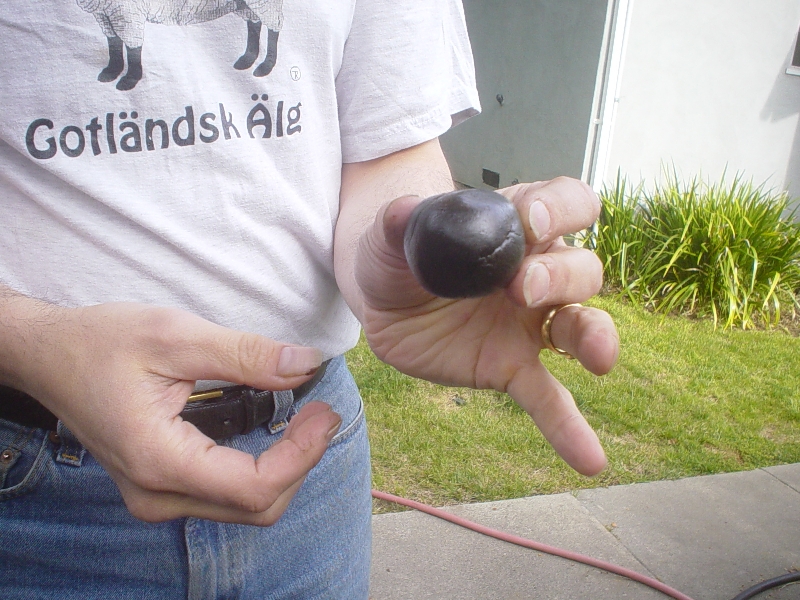
Roll the wax into a little ball, and you're done! Wrapping the wax in parchment paper or wax paper will help keep it fresh. |
 | |