May 7, 2011 - I had been asked a while ago if there was any tutorial on making a waxed end - that is, the double ended stitching cord used by cordwainers to sew a shoe. There were several pictures on the The Crispin Colloquy - Bristling demonstrating the process, but as you have to dig a bit to get to them, I thought that I would put together a quick tutorial so that the information is in one place. Note that each shoemaker has their own special techniques on this, so don't think that this method is the "end-all." Additionally, this technique differs somewhat from Garsault's method in that he suggests splitting the boar bristle and "braiding" the waxed end with the linen. However, I have had 99% success with this method; possibly, if one were to use only a small number of linen strands, braiding might secure the ends better. If you're keen on this method, there is a video available at Al Muckart's Blog.
Making a waxed end is truly more of an art than a science - don't be discouraged if you only get a few stitches on your first waxed ends. It takes some time to get the technique right! It also takes time - it takes me about fifteen minutes to make a stitching cord with two waxed ends (since your stitch is typically a double-running stitch, both ends need to have a waxed end). I may end up putting a video up here of the process since it really is better shown than explained. Marc Carlson also has a good tutorial - scroll down to ensure that you see both the making up of the thread as well as threading the bristle: http://www.personal.utulsa.edu/~marc-carlson/leather/thread.html#MT.
Further, there is also a Youtube video put out by the Musee de la Chaussure in Lausanne, Switzerland. I've used this method, and it produces excellent results with a bristles that can be split. If you're using nylon fishing line, it will be more difficult. You can find the video here: https://www.youtube.com/watch?v=eoBrQ0QKjBQ or search for "making a waxed end lausanne."
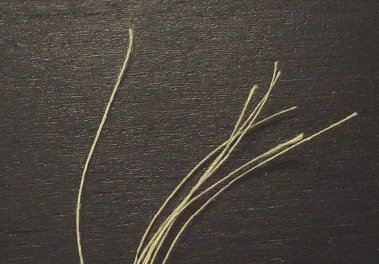
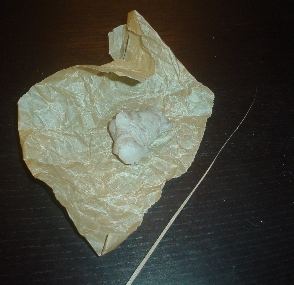
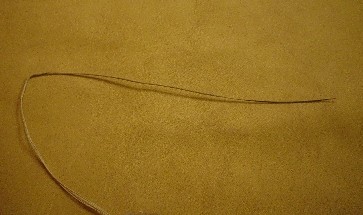
Start off with measuring out your linen strands. For me, lengths of about three yards tends to work the best. Otherwise, it is unwieldy to pull all the material through your hole and to pull the stitch tight. Start off by aligning all of your ends together as shown. |
|
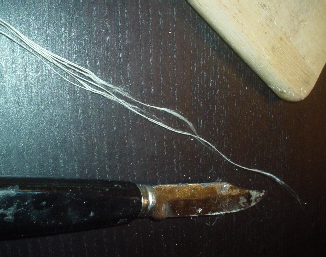
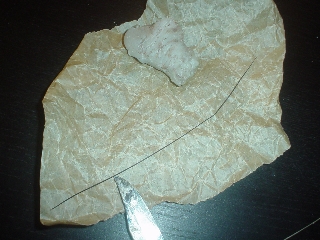
Take a dull-ish knife and, wrapping the linen threads around one of your fingers to keep them aligned, scrape at them until you form a taper at one end. Ideally, you want to get them all of staggered lengths so that they gradually form a very fine tip at the point. The finer the tip, the better your bristle will hold on. |
|
I align the linen threads in such a way so that they all lay flat, kind of like a ribbon. Use your wax to wax the threads until they form a nice tapered ribbon, as shown. Note that the wax here is a synthetic wax - an "authentic" coad made from pine pitch, rosin and fat (beeswax/tallow) would probably work even better. Wax the linen for about 8 inches from the tip of the taper to the threads. It will take a bit of playing around to get them to lay flat and form the ribbon, but the flatter your ribbon is, the better waxed end it will make. |
|
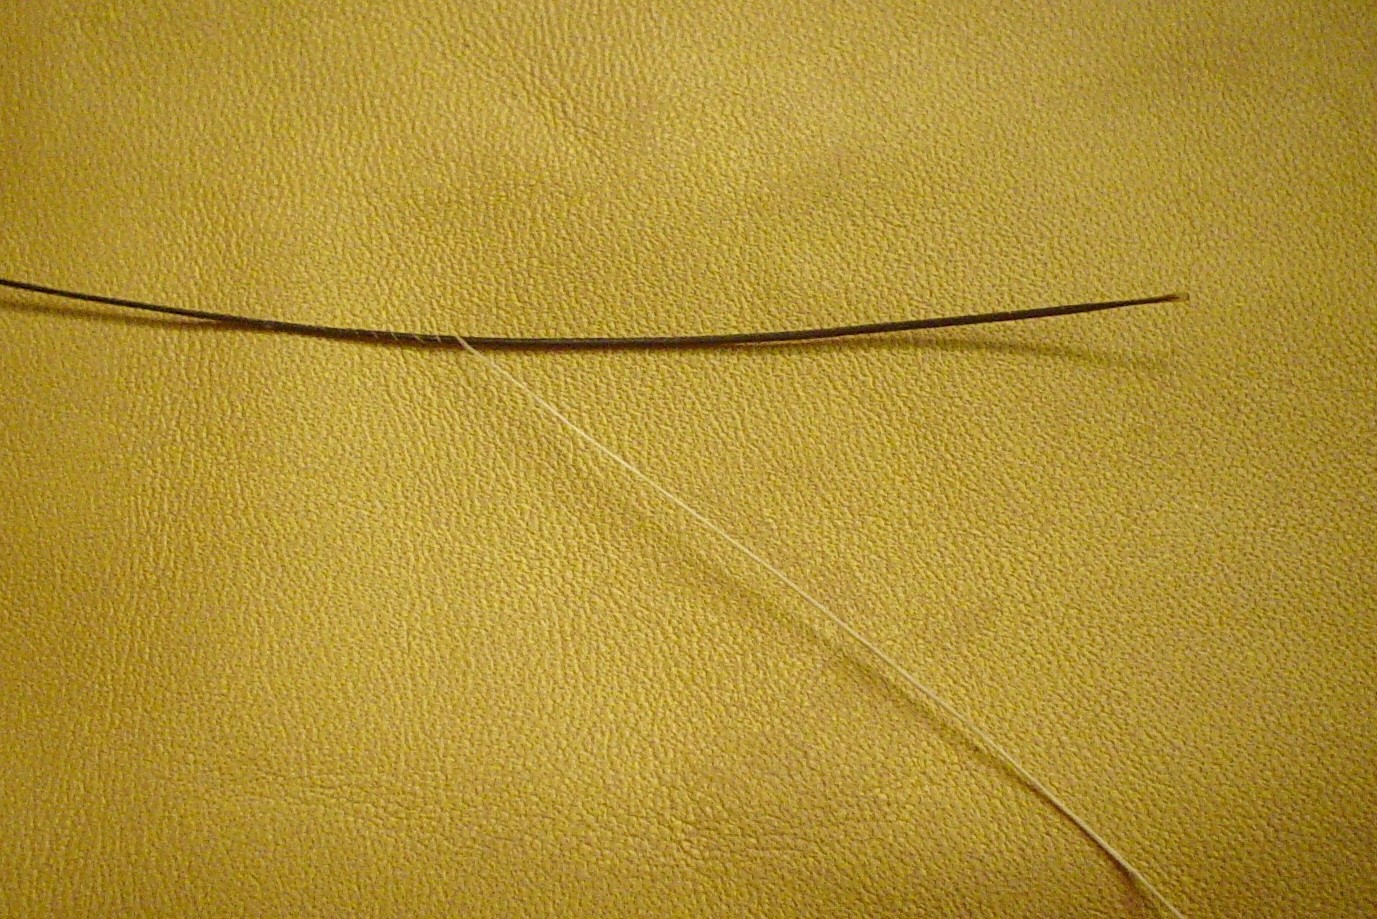
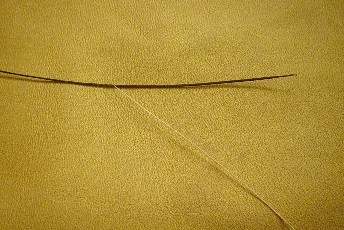
Grab a nice, stout boar bristle from your stash. If you don't have any, get in touch with me, and I will be happy to send you some =) Be sure to wax your bristle! This is key, and ensures that the linen taper will adhere well to the bristle. Note that the "tip" of the bristle is the sturdy, robust end with the follicle on it (left side in this picture), not the bushy end (which cannot be seen because I've already waxed the bristle, making them adhere together). |
|
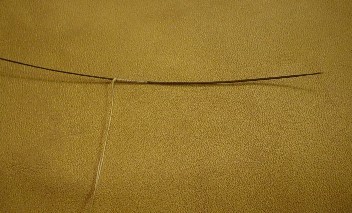
As if this wasn't interesting enough, here is the fun part =). You will "pinch" the tip of the taper at about the first third of the tip of the bristle, lightly adhering them. Then, you lay the end of the waxed taper as shown in the picture, and wind the taper up along the boar bristle, twisting the bristle in both hands. Once I get one or two winds done, I typically put the long end of threads in between my knees to give the taper tension for a nice tight fit to the bristle. Additionally, I have always wound the bristle away from me (meaning the taper of the linen lays on top of the bristle, as shown in the picture) since it allows me to see how it is rolling up, as opposed to it being hidden on the other side of the bristle. |
|
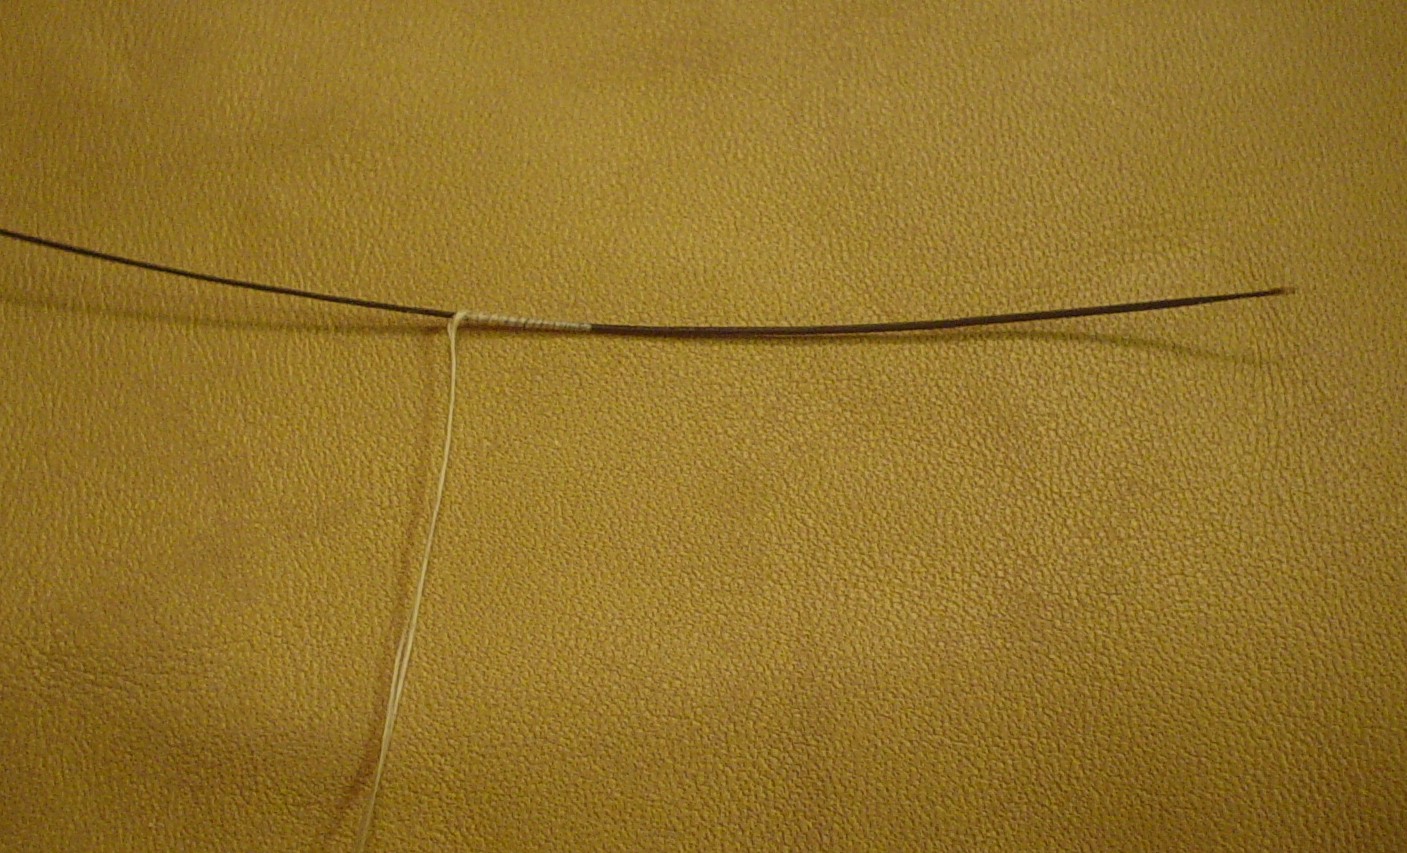
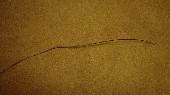
Once you have wound the taper up the bristle by about half an inch, you reverse direction, winding over the initial windings to lock the thread on the bristle. The idea here is to angle the bristle as you wind so that the linen taper (as it gets thicker and thicker) does not overlap itself, but lays neatly next to each other. As the taper gets much thicker, you will find that you have to angle the bristle quick significantly in order to get the ribbon (no longer a taper!) to lay flat on the bristle. |
|
Keep winding and winding until you've basically wound the entire length down the bristle. Then, grab your coad and wax up the end (towards the tip of the bristle). This will get everything nicely aligned and sticky. |
|
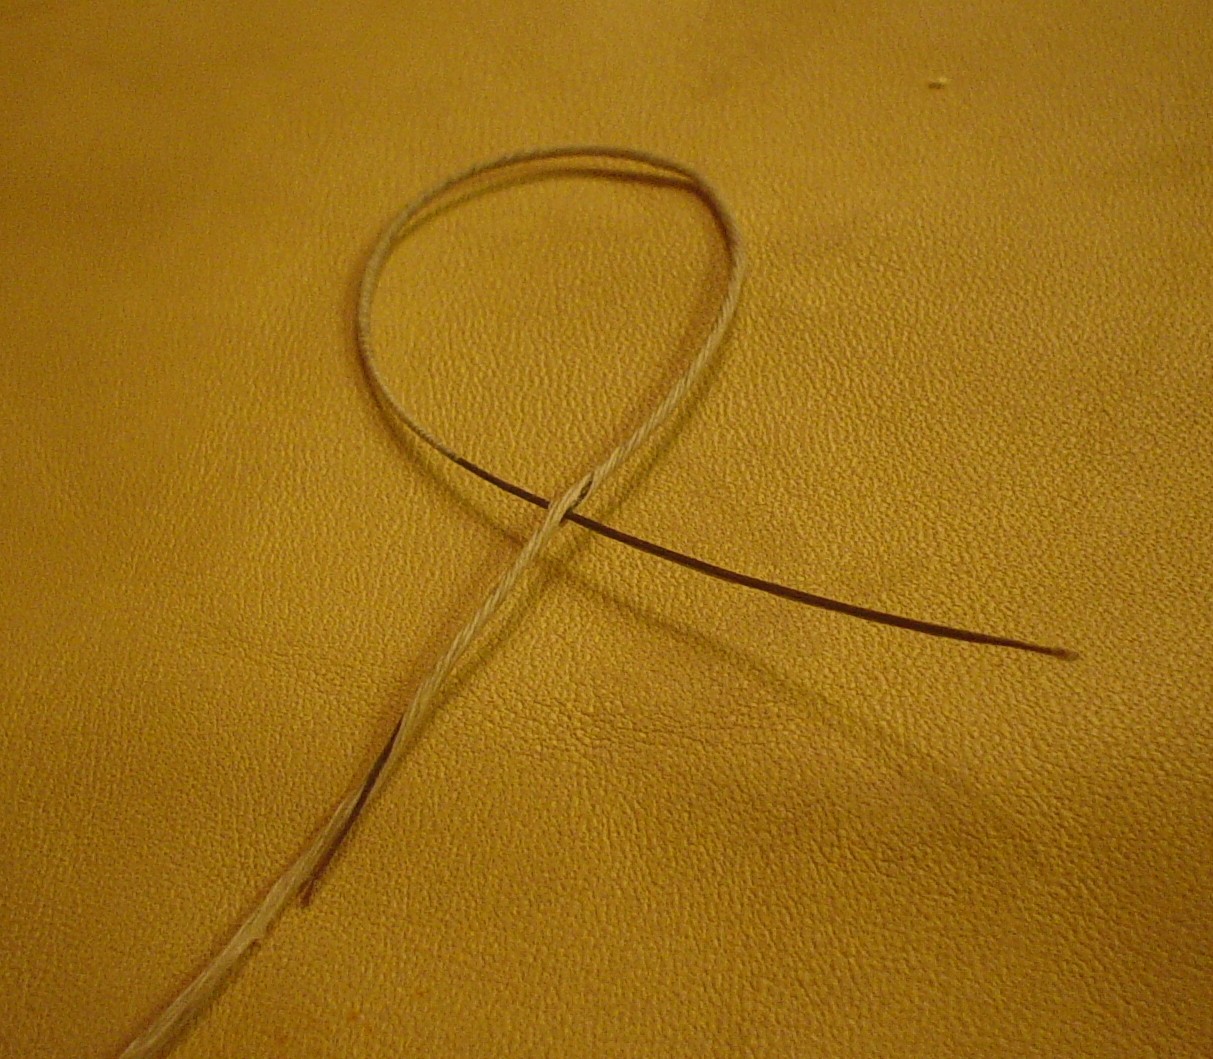
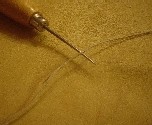
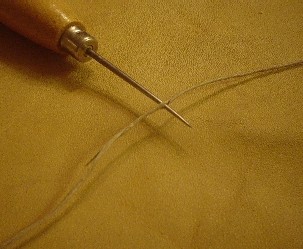
Almost done - the next step is to put a locking stitch into your bristle to prevent it from unwinding too easily. Using your straight awl, pierce a hole towards the bottom of the bristle, where it is the thickest. You want to include part of the bristle as well as all of the linen threads in when you pierce, and try to pierce it in as much of the middle as possible. |
|
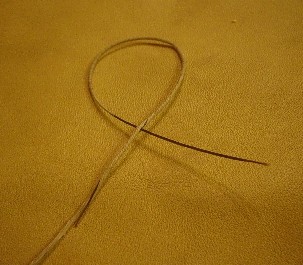
Lastly, insert the tip of the bristle into the hole that you pierced, and pull it all the way through. Make sure to wax your end a couple of times after you've pulled it through. |
|
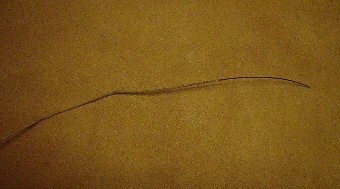
You're done! Now, the only thing left to do is to wax your threads nearly all the way (leave about 12" unwaxed) to the other side to ensure that there are no gaps in the thread. Then, repeat the process to make a waxed end on the other side. The completed double-waxed end is sometimes called a "hank," though I'm uncertain of the provenance of the term. |
|